In this article, we will get to know How to Install Custom ROM on Android Device you are interested in. Now as we have seen in our previous article that what, how, and where these Custom ROM is used. So now let’s get to know how we install these brilliant customized ROMs on your Android Device. With ease as easy steps!
How to Install Custom ROM on Android Device
We will go stepwise to ease your throughout downloading:
Unlocking Bootloader
Step 1:
First, access to unlock it. Mostly all the manufacturers provide you this access. To check if your device has this access, search on “[manufacturer] unlock bootloader”. Displaying you all the models of the manufacturer allowing the bootloader.
Step 2:
Your Carrier must also grant access to unlock the bootloader. Even after the manufacturer of your device lets, you unlock it.
Step 3:
Keep in mind that doing this may risk your device and data stored in it. So it is better to keep a copy of your data if just in case this deletes all the data from the device. By unlocking the bootloader you break the security system and DRM of your device. Disabling your Android device permanently throughout the process. So be prepared for the worst.
Step 4:
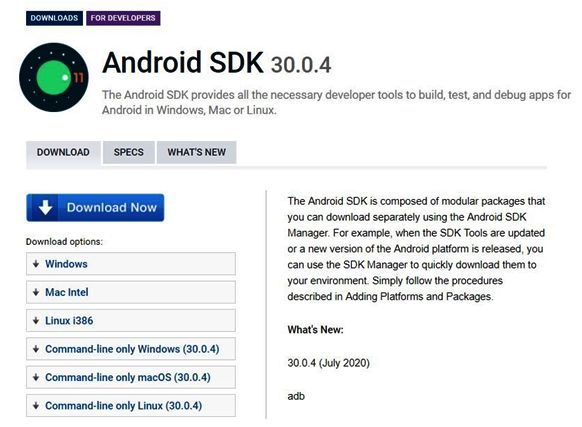
Download SDK tools of Android that you would need for preceding the bootloader’s unblocking. For this, you will have to first visit the official site of Android. Scroll to the option “Get just the command line tools” at the bottom of the site page. Download the Zip file in the folder you wish to store all your tools.
Click here to download.
Step 5:
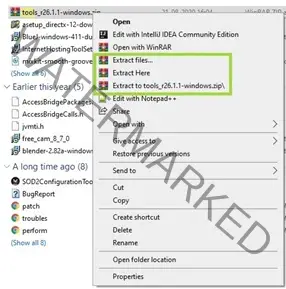
Extract this Zip file.
Step 6:
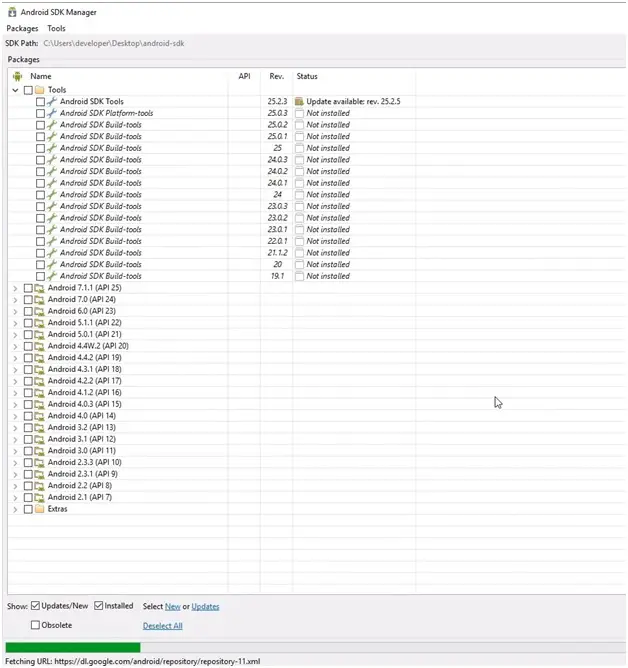
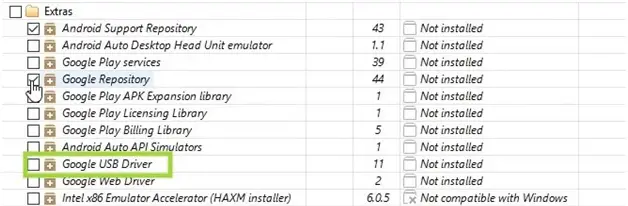
Run SDK Manager of Android which will display lists of actively available tools of SDK.
Step 7:
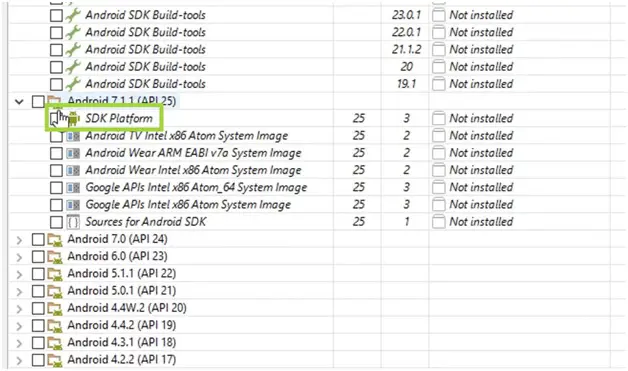
Only check the checkbox of “Android SDK Platform-tools” and uncheck all the other options. As you would need this for bootloader unlocking. Then click install
Step 8:
Download and install all the USB drives needed by your Android device. You will find these USB drives available on the support page of the site of the manufacturer of your device.
Step 9:
Connect your device with your laptop in which you downloaded and installed all the previous tools and SDKs.
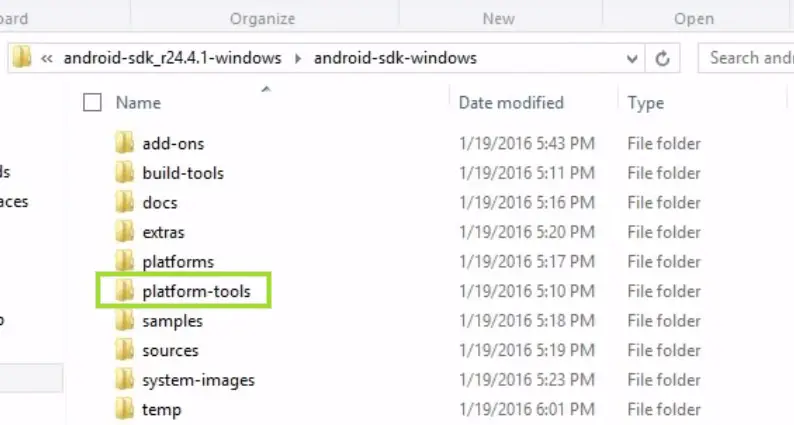
Step 10:
Open the “platform-tools” folder from the folder where you installed your tools and needed SDK for unlocking the bootloader. Then hold “Shift” and right-click on the blank side/ spot.
Step 11:
You will get the option of “open command window here”, click that.
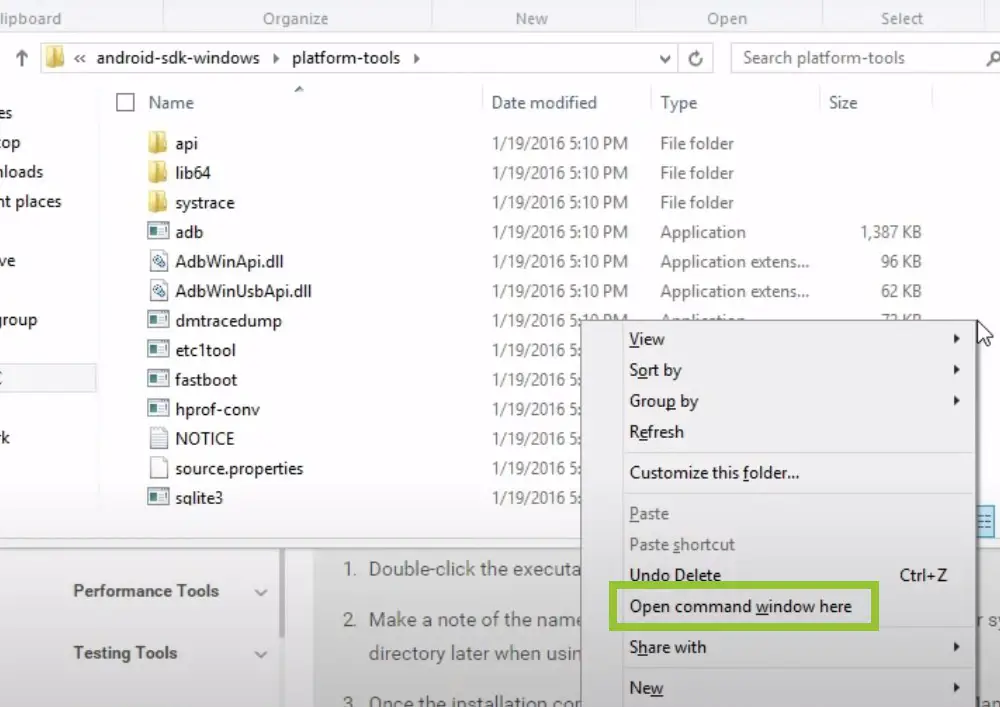
Command prompt screen will display.
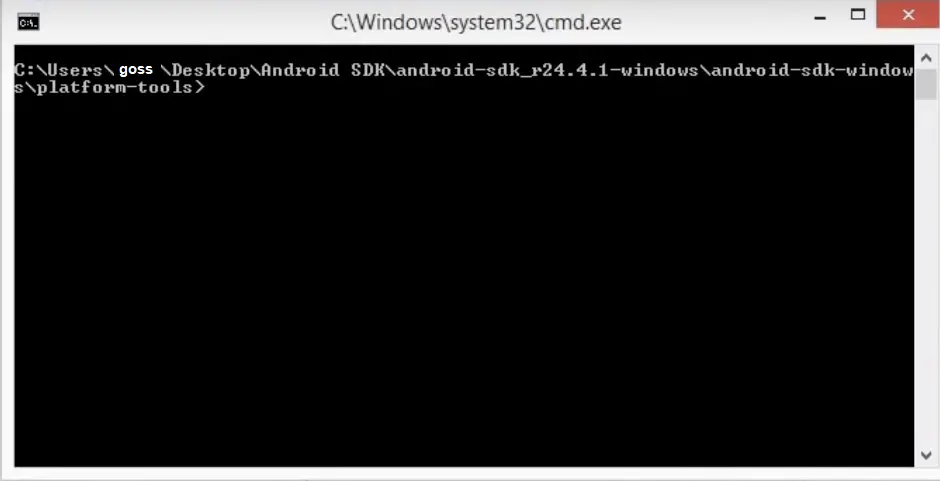
Step 12:
On the command prompt type “ADB devices”. Then press “Enter”. Now it will display the serial number of your device.
Step 13:
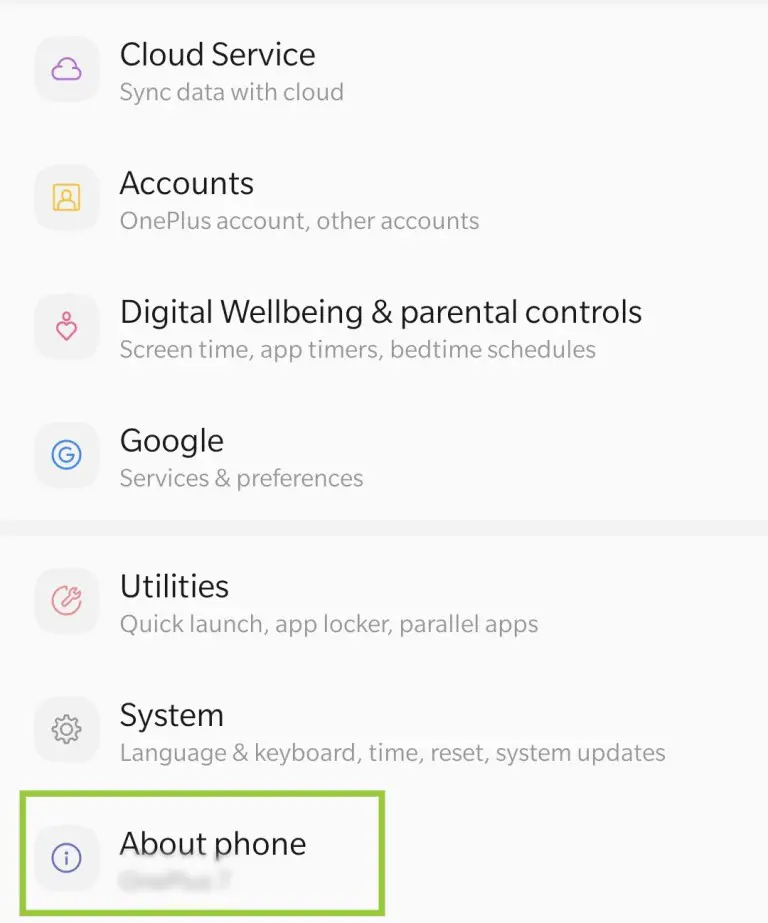
Open the Android Settings of your device. Scroll down to the option “About Phone”. Tap in it.
Step 14:
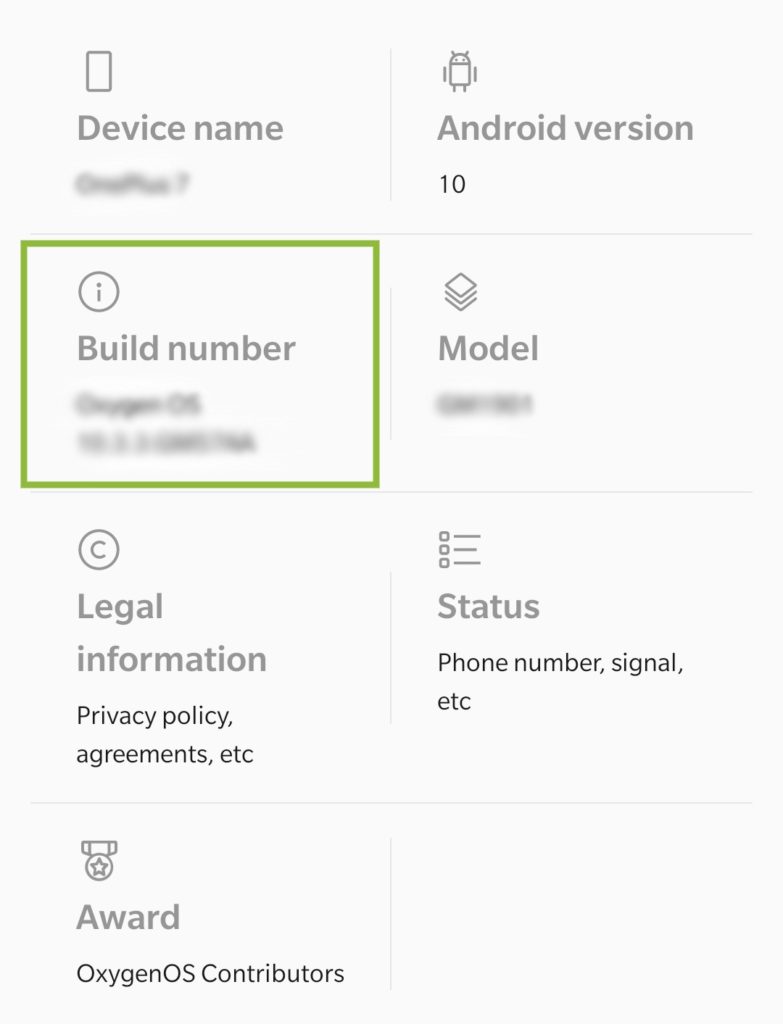
Find the option “Build Number”. Tap on it for 7 times continuously. Enabling the developer mode in your device.
Step 15:
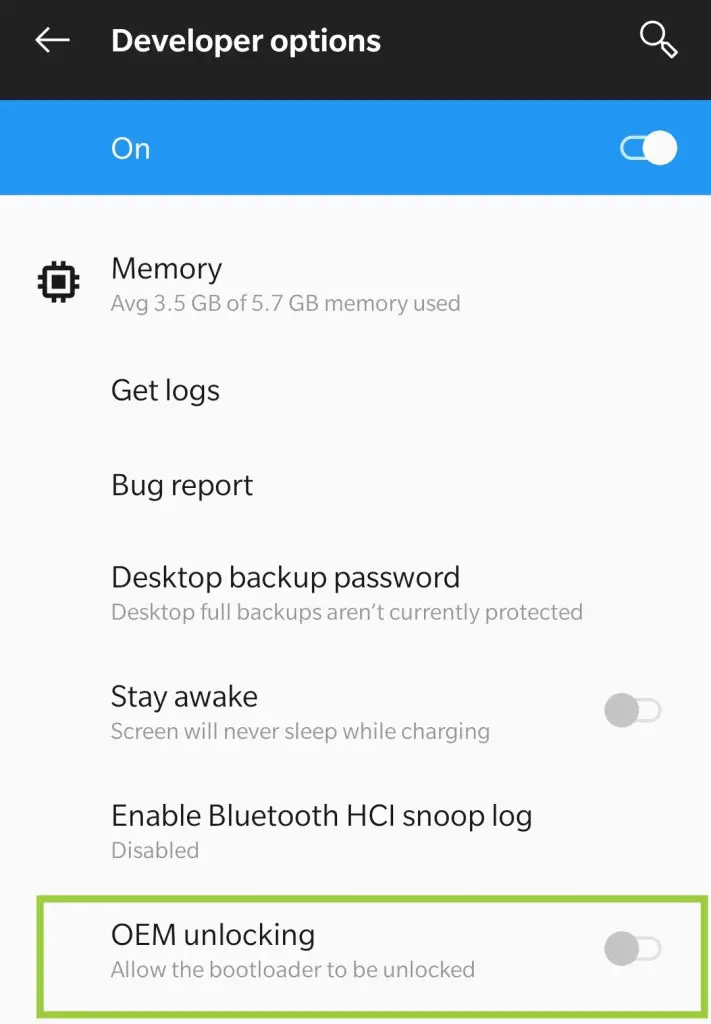
Now return back and then tap on the option “Developer Options”. Tap on “OEM unlocking” (some phones will not display this option and that is fine, you may proceed without this step).
Step 16:
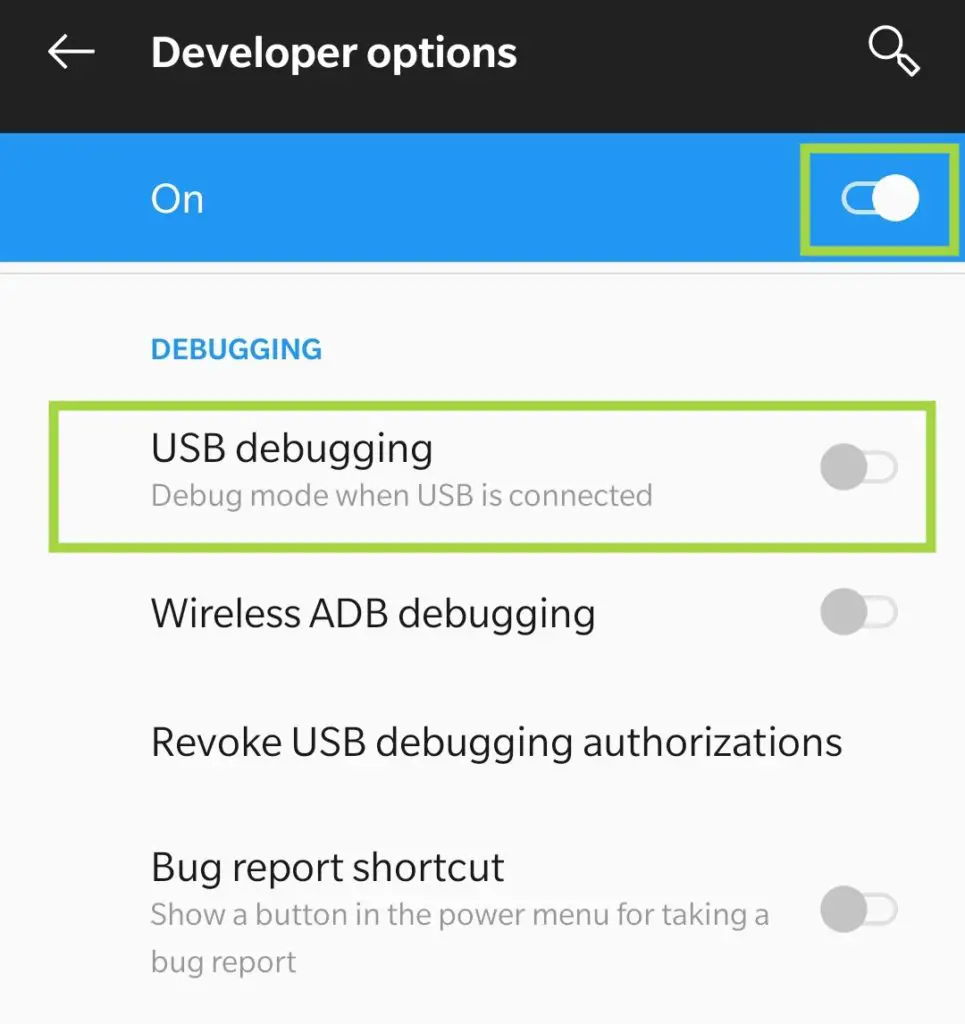
Enable “USB debugging”.
Step 17:
Find the device manufacturer’s unlock code steps/ instructions. This process varies on every device.
Step 18:
Now reboot your device. You will find this on the fast boot menu. The process varies in every device. Hold your device’s “Power” button and “Volume Down” button altogether.
Step 19:
Then type down the “unlock key retrieval command” in ADC. Varies in every device. Then copy the device ID code that shows. Now submit this Device ID code to the manufacturer and request for the unlock code. May take a week or two in receiving the code.
Step 20:
Run the command provided by your manufacturer. Grant access for the unlock from your phone. Now type on command prompt “fast boot reboot”. Then you will receive a bootloader to unlock the message.
Installing the Custom Recovery
Step 1:
Open Team Win Recovery Project (TWRP) website. You may also use Clockworkmod Recovery instead of (TWRP) for recovery Android ROM.
Click here to download.
Step 2:
Tap on the “Devices” Tab option. Verify there if your device is supported or not on the list they provided. If not found on the list, go with the other recovery environment.
Step 3:
Click on the link of the device you own. Select the “Download” option. This would download the Team Win Recovery Project (TWRP) in the image (IMG) format.
Step 4:
Copy the same image file downloaded right now into your ADB folder. Renaming this file as twrp.img before saving.
Step 5:
Now open your command prompt on your laptop and type “ADB reboot bootloader”.
Step 6:
Now type “fast boot flash recovery twrp.img”. On typing this that image file of TWRP that you downloaded would get transferred to your device changing the recovery environment.
Step 7:
Now type “Fastboot reboot” and then press the “Enter” key. While the rebooting process, press your device’s “Volume up” Button and “Power” Button altogether.
Step 8:
Enter your password (or PIN) if it is asked for.
Step 9:
Tap on that “Backup” option shown. This will start creating a backup just in case if something goes wrong with the device.
Step 10:
Select all the important information you wish to have a backup off such as “Boot”, “System” and, “Data”. Swipe up the bar to begin this process of the backup.
Step 11:
Now return to the menu of “Backup”. Then clear all the options that can be seen.
Step 12:
Now scroll down to the bottom. After tapping on “Recovery”, select all the special partitions.
Step 13:
And now you will have to start another backup with the special partition you selected in the previous step. This process will backup IMEI information of your device.
Finding a compatible ROM for your Device
Step 1:
Get the ROM which we provided you on the list. Find yourself the most suitable ROM, go through their official page for more information before downloading. For more detailed and descriptive information about ROMs, you may also visit XDA Developers’ official site.
Click here to visit XDA developers.
Step 2:
Search for your device available on the list of official sites of the ROM which you wish to download. Do make sure that it is the same model as your carrier and phone (or tablet). Little difference in the model can make the ROM fail while installing or running.
Step 3:
Scroll to the bottom where you will find an option of “ROMs, Kernels, Recoveries, & Other Development”. Find more important information about the ROM before you proceed to keep in mind what worse could happen.
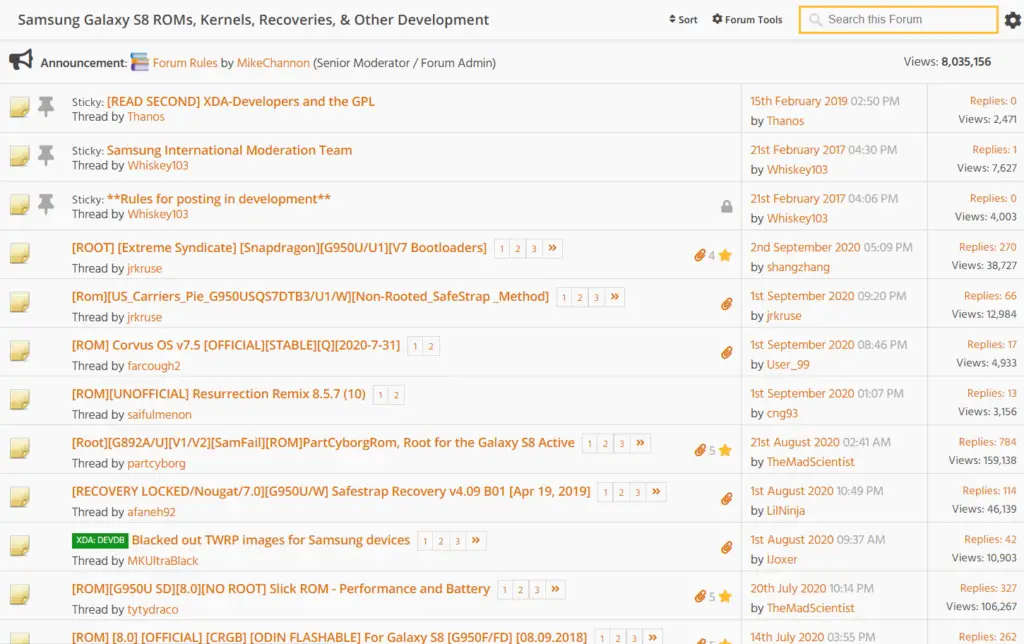
Click here to visit.
Step 4:
Find yourself the most comfortable and compatible ROM in the list for a better experience. Hunt out for its features, limitations, pros, and cons. For better knowledge of ROM do make sure you know everything. It would be better if you could go through multiple articles at a particular ROM you are interested in.
Step 5:
After deciding the best ROM for your device. Go on the official site of that ROM. Click on the link of the “Download Now”. These downloaded files are mainly in ZIP form. And would take a pretty long time in completely downloading.
Step 6:
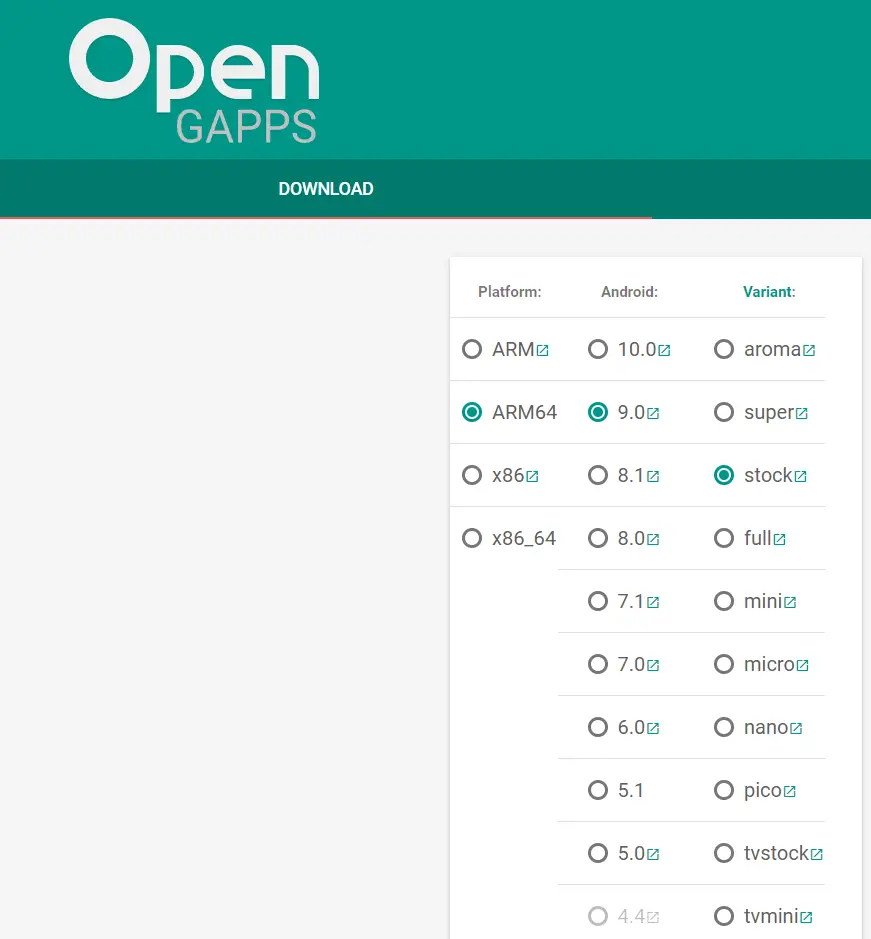
Now you will have to visit the GApps download website. This site will let you download the proprietary apps of Google. Such as Gmail and Play Store. ROMs cant have access to download these apps by themself.
Click here to visit.
Step 7:
Select the model with which your device matches and configure that on the GApps site. Do make sure that the platform and Operating System match the ROM you installed.
Step 8:
Now click on the “Download” option. By clicking on it, this would start the downloading of the selected GApps. This would download a ZIP folder.
Install Custom ROM
Step 1:
Now connect your Android Device with your laptop on which you downloaded all the files till now. As you will have to transfer these files on your device now.
Step 2:
Now open Storage of your Android device on your laptop or PC. You may store these downloaded files in the internal storage of the device or to the SD card which has been already inserted in it.
Step 3:
Now copy or move these downloaded ZIP files of ROM and GApps on your Android Device. Make sure that they are being saved in the base directory of either SD card or internal storage. DON’T PUT THEM IN FOLDERS.
Step 4:
After the transfer, disconnect your device from your laptop or pc.
Step 5:
Switch off your device. As now you will need to open the Recovery Mode which will start when your device is at power-off mode.
Step 6:
Now Boot your device in the recovery mode.
Step 7:
Tap on the option of “Wipe”. Recommended wiping the Android Device before starting the installation of a new ROM in it.
Step 8:
Now you will see a bar. Swipe it to start the factory reset.
Step 9:
Now tap on the option of “Install” present in the main menu of TWRP.
Step 10:
Scroll down to find the ZIP file of the ROM you wish to install. DON’T unzip files of GApps before the one of ROM. Now swipe that bar and your installation of ROM files will begin.
Step 11:
After installation again returns back to the main menu and tap on the option of “Install” again. This time it would be for the GApps zip file in your device.
Step 12:
Scroll down to find your zip files of GApps. Again swipe the bar for starting the installation process.
Step 13:
After the installation is completed, tap on the option “Wipe cache/Dalvik”. Then swipe up to confirm the process. This is necessary for starting the newly installed ROM as it will remove the cache.
Step 14:
Now you will need to tap on the option “Reboot System”. Now, this would be the final step to your new ROM. If everything goes on smoothly then you will end up seeing the home screen of the new ROM. This process may take some time so don’t worry if it’s taking long for rebooting.
Summary
So that’s all we have for you in How to Install Custom ROM on Android Device. Hope we were successfully able to help you install your required ROM. We tried our best to represent the process in the easiest way possible. Let us know if your new custom ROM environment is working as you expected!

Myself Shreya Choudhary, a Computer Science Engineer. Freak to hunt new technologies, go though there working process, and use them. More interested in creating games rather than playing. Most of the time spent reading new hi-tech news, blogs, stories, up-coming technologies, and everything that’s related to tech. Dream of working on my own developed Operating System one day 😉
Other then tech stuff, I am more of an outdoor person, loves to travel, hunt new places and cultures. Meet new people, know new inspiring stories and lifestyles.


