How to trace an image in illustrator? Learn to use and master image tracing on Adobe with our guide. Or How to trace an image in Adobe Illustrator? Or how to convert a raster image into a vector image? Learn about Vector image and vector graphics. We got you covered with our guide on image tracing with Abode and even know about other useful software like Illustrator. Learn terms like noise, corners, paths, and much more. And if you are stuck anywhere, then check out our video for an easy guide on the topic.
Adobe Illustrator got more powerful than ever. No matter if you are new to Adobe or are using it for a while. Adobe Illustrator is a very powerful software when you want to create a vector image. There are several amazing features for designers, but it can be difficult to understand all of them.
Learn more: Affinity Photo Vs Photoshop
What is a vector image?
Now let’s see what a vector image is, it is a CG or Computer Generated image. Our workstations can’t understand or recognize images as we do. So they break them down in various mathematical equations. In this case, it breaks the images into points and places them on a cartesian plane. It lets the computer understand the image and let it work with that image. Any computer image is made up of polygons, lines, curves, and more.
This, instead of using your graphical memory, it uses computational memory. This reduces the overall load and data on a PC by organizing the images concerning the pairs of points. There are several terms you need to know if you wish to be a professional. One example can be of “mapping” which is how the computer places the various coordinates or points.
Or in simple terms, we can say that a vector image is made by computer by putting values on a graph. With these points (coordinates), it can make different shapes on the graph (cartesian plane). Due to this feature, the software can upscale an image infinitely and without losing any quality. This reduces the amount of data used by the software, making the process efficient and fast. Now there are three coordinates X, Y, Z with while all the magic happens.
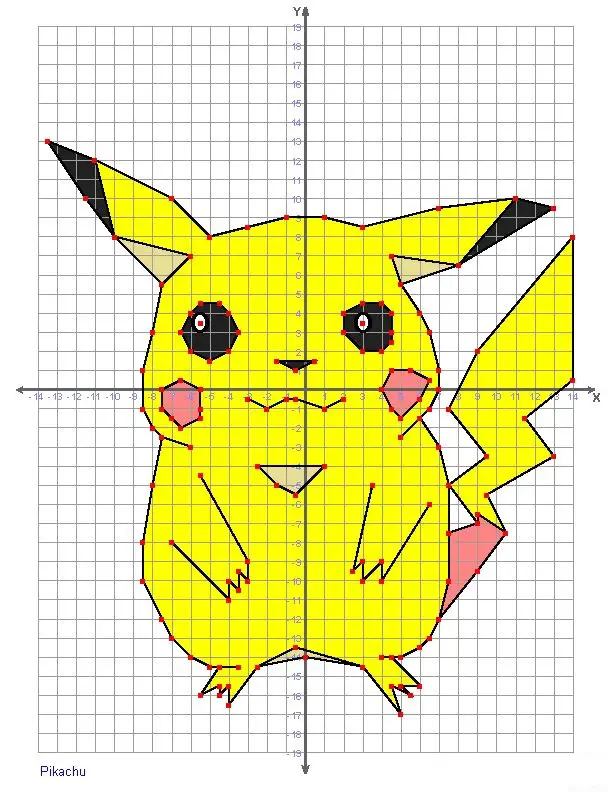
Now let us show you how exactly it looks like when using the cartesian plane. Note that this is not what you will be working with on the Adobe Illustrator. This is just for representation and teaching purposes. All this data will be hidden from the user, and you will not have to worry about any coordinate. You are good with visual data, and your computer is good with raw numbers, working together will get you the desired output. Now there are different formats in which the works, we have mentioned the formats available in Adobe Illustrator later in the article.
What is Adobe Illustrator used for?
The Adobe Illustrator is made for professors and amateur alike, to design and create CG images. There are several different use cases of Adobe, like designing banners or creating posters and even upscaling images. But there are several different tools for some tasks, and they surpass Adobe Illustrator. For example, Adobe Photoshop is a very powerful tool for editing already existing images.
The main advantage of Adobe Illustrator is in upscaling images, and this is done with the help of vector calculus done on the software part. This lets you magnify an image without losing quality.
People commonly use Adobe Illustrator to trace an image for a vector. Suppose you are wondering what and how to do it. We mentioned some points to help you out on how to trace an image in Illustrator.
Most people usually use Adobe Illustrator to trace an image for a vector, and we already told you what it is. But you need to know the difference between a vector image and a bitmap image.
Here are some tips and tricks to make your work a little easier:
You need to convert your image into a vector before we can start, choose an image from your collection. It can be either personal images or photoshop.
Follow a few simple steps to choose an image of your choice.
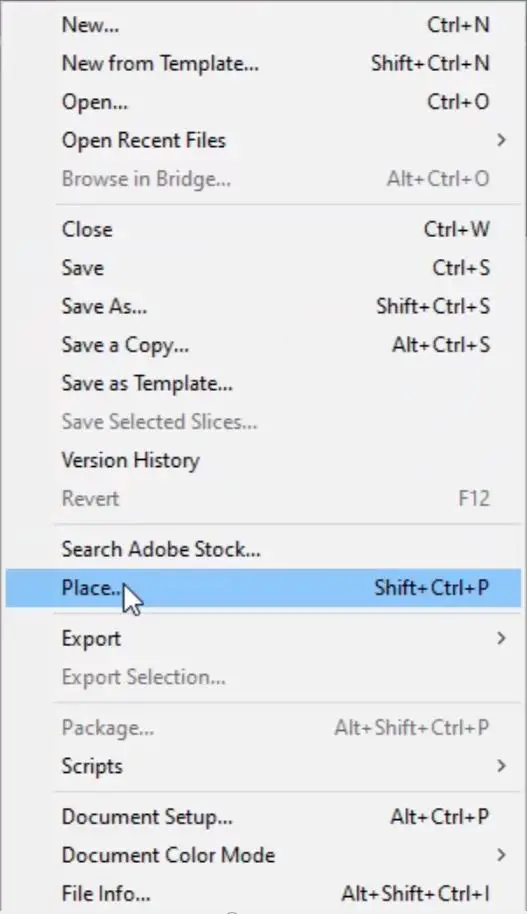
- Click on the File menu and navigate to the Place option, or you can use the shortcut (Shift+Ctrl+P).
Now we can move to the next step.
- Once you add the image, you have to go to the Select tool for the next step.
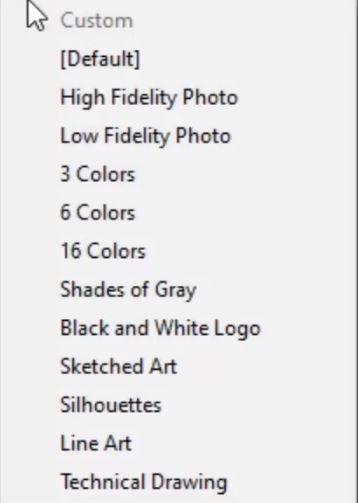
- Once you select the image of your choice, open the “Windows” menu and navigate to “Image Trace“. The option will be in-between Info and graphics styles.
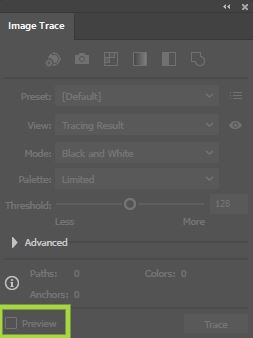
- Select the “Image Trace” and a menu will pop-up. Select “Preview” which would be at the bottom left of your screen. Please select the color mode you want. It can be either grayscale or color, or any other. Once you have selected your color, drag the slider with the name “Color“, “Grayscale”, or “Threshold” to select the density of the color.
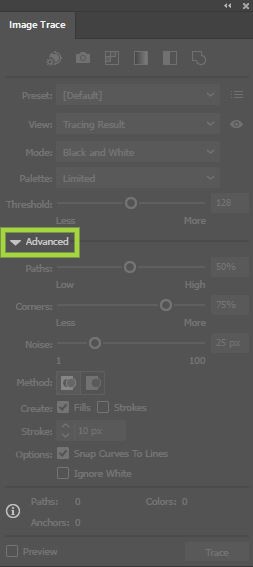
- Now let’s see how to add more sliders, but don’t repeat it if you have already done it. Click on the “Advanced“. It will be present in the “Image Trace“. Once done, adjust all the three sliders as per your wish. But keep in mind these points to have a good outcome:
- Adjust Paths until your image looks clear.
- Use the “Corner” to make the edges of your image crisp, know the difference in crisp and sharpness to make images look good.
- Use noise to help your image reduce extra pixels.
Now sit back and let Adobe do its magic. It will take some time for the process to be completed.
What more can we achieve with Adobe Illustrator?
Tracing the image is a small part of Adobe Illustrator, there are many other useful and powerful tools. There’s a reason it is called Adobe Illustrator and not Adobe Tracer. Some useful guides can make your learning a lot easier. And we got you covered here with a quick learning guide about other useful features of Adobe Illustrator. Make sure you are using a powerful PC or laptop to make your work less handy.
But if you are deciding to become a professional in Adobe Illustrator. You will need to learn from different sources as one source can not provide you with everything. And remember to take your time while learning as it can be challenging to learn in a few days.
But note that if you are looking for a particular feature or use cases, then go through and see which software you should work with.
- a) Compositing artwork/adjusting images—Photoshop.
- b) Single page layouts/designs, websites—Illustrator.
- c) Multi-page layouts/documents—InDesign
How to convert Raster image into a Vector image in Adobe Illustrator
Note: Vector images consist of mathematical paths that let the design be upscaled as much as you want all the while retaining its original quality. And it is different from a raster image. A single search can give you a clearer picture.
Now to achieve the conversion, follow these simple steps, and see the illustrations if you have any doubt.
Step 1) Open Adobe Illustrator and search for ”Windows” and “Image Trace”. Click on the “Image Trace“, and a pop up will open with all the settings.

Step 2) Click on “Preview” to see what your image will look like in vector format. But select your image before starting with the guide. And if the preview is not looking good or as expected then do not worry, as there are more settings to tweak now.
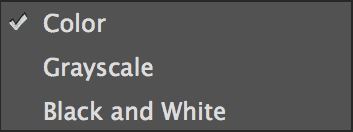
Step 3) Now, we need to select the color “mode”. To do this, click on “mode” and select from “color”, “Grayscale” and “Black and White”.
Step 4) Now you need to adjust the mode that you just selected with the slider. But note that the slider will not be the same for all as it depends on what mode you select. The slider’s functionality still is the same as the other two sliders.
Keep in mind:
- Colors will give a maximum number of colors.
- Grays will give Grayscale accuracy.
The balance is something you have to check for yourself. As the image can be too plain, or too high, or too complex. But always remember that it is not about a perfect image but more about how unique an image is for you or your purpose.
Step 5) Now go in the advanced settings to have more control over the image.

Step 6) Path slider
Keep in mind that fewer paths mean a simpler design of the image, but there should not be too few paths, or the image will appear pixelated. And if there are more paths then needed, then the image will take longer to work with and add unnecessary load on the PC or laptop. Now your aim should be to lie in the middle, the average number of paths. Path sliders are used to improve the number of paths in your image.
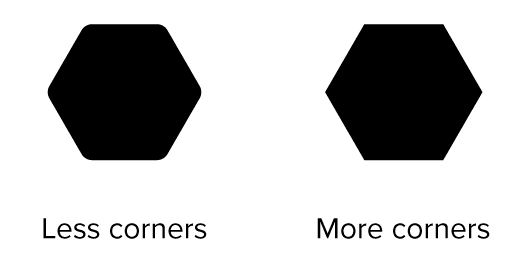
Step 7) Fewer corners will lead to curves in the image and make it more rounded. However, if you decide to involve more corners, the resulting image will have sharper edges which may not be a good thing in most cases. Keeping the average number of corners will give you the best results.
Step 8) Noise slider
A better image will have an end in less noise, and this will be very useful for removing artefacts of your image that are not assigned by you or are unwanted. The noise slider overlooks parts of your image that suit within the pixel volume set.
Step 9) Now find and select “expand” to save your image with the following extensions(.ai, .eps, .pdf).
With this, you can make the image used for a much bigger purpose. Let’s say you want to have a room poster, but the original image gets pixelated. You can use this feature to upscale the image for this purpose.
Summary
We got to learn a lot about Adobe Illustrator, how to trace an image in Adobe Illustrator along with how to convert a raster image into a vector image. Always know what your project needs; does it need a higher resolution image or an icon. And if you want to become a professional, then you should check and learn from different sources. And if you are still stuck anywhere then do check out our video.

I am a Computer Science Engineer, have a passion for coding, sketching, and teaching. I took part in various college technical activities and was Mr. Fresher in the 1st year along with the college’s face. Spends most of the time learning new things and coding small codes for little fun and also as academic, keeping Python 3, Android as priority language for coding.
I love writing tech tips with 100% success and enjoying this new side of life. Finding a passion for new things and letting unlock my creativity and hoping to learn new scientific stuff on the journey of life and being grateful for smaller things.


