Recover utility is the term referring to recovering the data to the current state or the previous state in time by copying the data and applying the log records. It usually creates a backup of Chrome OS. This can then be used in any case of crash or data erase occurs. Chromebook recovery utility is a Chrome application that can be added as a Chrome extension for free. It can be downloaded from the Chrome store and used for building Chromebook recovery media. The media can be a USB key or SD card.
Chromebooks are a great initiative in the world of fast-moving computers. With a Chrome OS, we no longer have to depend upon our device specifications alone for speed and performance. The internet-based system saves time, energy and is the lightest operating system available.
When to use Chromebook Recovery Utility application?
You must use it if you are keen on safety and is always precautious to ensure that your data is safe at all times. If not, there are some necessary circumstances in which the utilization of this tool will come in hand.
- If you are having problems with the devices that have Chrome Operating System
- In the events of crashing, freezing, or constant error messages
- In case you get the message “Chrome OS is missing or damaged”
- If your Chromebook crashes constantly and is failing to restart
- If you get a white screen after you turn on the Chromebook (White Screen Of Death)
Always make sure to back up your data before a recovery process as all the Chrome hard drive data will be erased after recovery including the downloads.
Frozen screen: Try these first
If you have a frozen screen or WSOD, don’t jump into the recovery step. Try the two following options first.
- Try turning the Chromebook off and back on again
- In case you still have an error, you can try resetting your Chromebook to factory settings
Factory resetting allows your Chromebook to run as a new device. So, all the data existing will be erased from your device, so make sure to have a backup. Backup can be a Google drive folder or an external hard drive.
You should reset the device only when:
- There is a message “Reset this Chrome device”.
- There are issues with the user profile or settings.
- Restarting the Chromebook is not working.
- Need a change of Chrome owner.
After backing up your data, follow these steps for the Chrome factory reset:
- Step1: Sign out of your Chromebook account
- Step2: Press and hold Ctrl + Alt + Shift + r
- Step3: Click Restart
- Step4: There will be a box appearing, from that select Powerwash > Continue
- Step5: Your laptop is now as good as new. Just sign in to the Google account
- Step6: Enjoy the new laptop, insert the drive or recover your backup data
If these two methods still don’t work, or you don’t want to erase all your data by doing the powerwash step, Chromebook recovery utility is your best option.
How to use Chromebook Recovery Utility
A recovery utility is an external image storing with a USB or hard drive.
1. Creating a recovery USB drive
You can create a recovery USB drive and be safe to be used in future events of a Chromebook crash. If you already have the Chromebook crash, you can use a Windows, Mac, or Linux OS phone or laptop to create a USB drive.
You will need an 8GB or larger USB drive or SD card. Note that the USB or SD card you use will be erased in the process. So, make sure to remove all the existing data to a secure backup. Also, you might need to avoid Sand disk USB because Sand disk USB drives do not comport well with the Chrome OS recovery tool.
Follow the given steps to create the recovery USB.
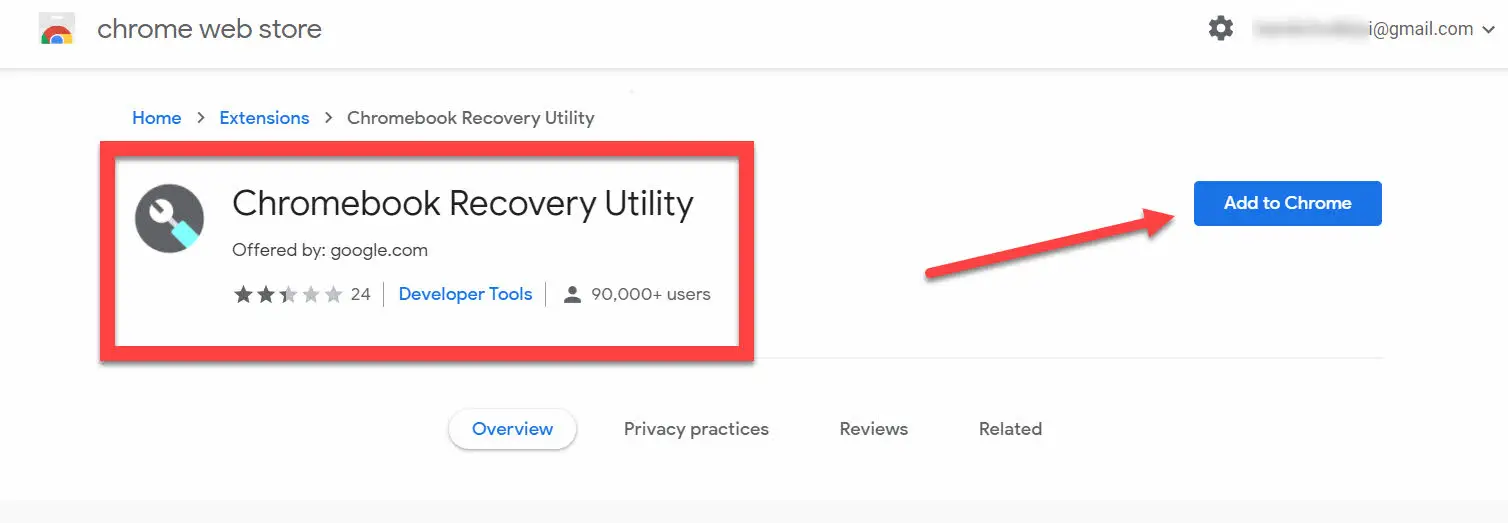
- Install the Chrome recovery utility extension from the Chrome web store.
- Click extensions to open the tool.
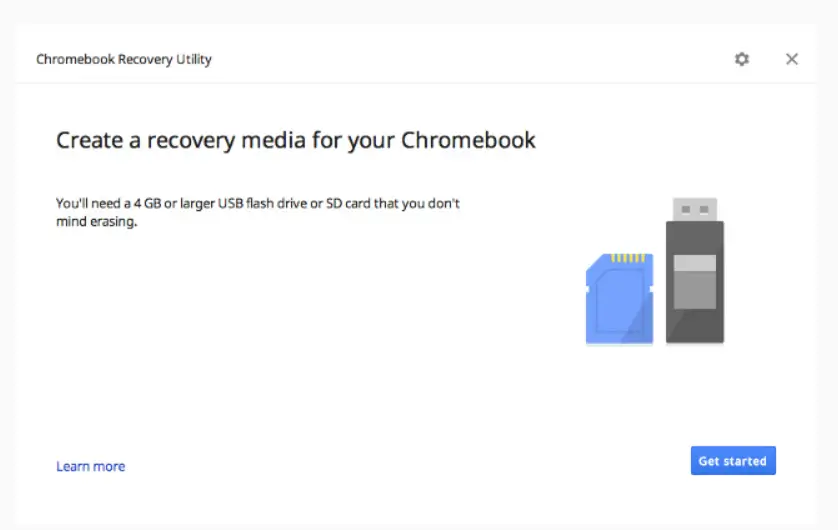
- After launching the tool, you can see a pop-up screen that says you to create a recovery media for your Chromebook. Click Get started there.
- The next window asks you to identify your Chromebook.
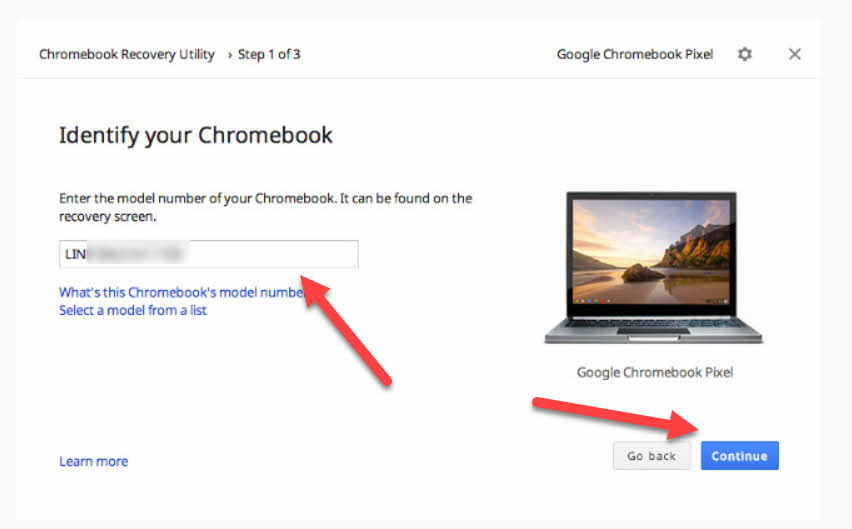
- Choose your device model from the drop-down menu by typing the model number of the device that you want to recover.
- Click Continue after that.
- The screen then shows you to insert your USB flash drive or SD card.
- After inserting, choose the USB flash drive or SD card from the drop-down menu.
- Click Continue and then Create now. Chromebook recovery tool will create the image and store it inside the flash drive.
- After the recovery is done, a message will pop up saying “Sucess! Your recovery media is ready”. Then you can remove the used USB or SD card.
2. Chromebook recovery mode
We can now use the USB or SD card to restore your Chromebook. For that, first, we must enter the recovery mode. Follow the given steps to do so.
- Remove any external device, mouse or keyboard, connected to the Chromebook.
- To enter recovery mode, press and hold Esc, then Refresh, and then Power. Then let go of the Power button.
- Then you will see either “Chrome OS is missing or damaged. Please insert a recovery USB stick or SD card” or “Please insert a recovery USB stick or SD card”.
- Then insert the USB flash drive or SD card which we have used for the recovery
- Follow the instructions coming up on the screen.
Now your white screen should be gone and Chrome must be ready to function again.
Chrome Recovery Tool in Linux
Using a Windows operating system, you can use the Chrome recovery utility through the same steps as above. But in Linux-based operating systems, the method is different.
- Download the recovery in a Linux Chrome window using this Link.
- Go to the command prompt.
- Enter this command to allow execution:
$ sudo chmod 755 linux_recovery.sh - Enter this command to run the script with root privileges:
$ sudo bash linux_recovery.sh - Follow the instructions on the screen to create the recovery drive.
- Take out the recovery drive.
- Enter recovery mode in Chromebook by pressing Esc, Refresh, and Power.
- Insert the recovery drive.
- Follow the given directions on the screen.
Chromebook Recovery Utility for Android
As of now, there is no code for using your Android device for Chrome OS recovery. But Google is trying to come up with the method and researches is going on. In due time you can install an apk file in your phone to run the Chrome Recovery Utility.

Fix Issues of Chromebook Recovery Utility
During this process, there are chances of things going wrong. Error messages or crashes are possible. Let us look at some possible error messages and how to handle them.
1. Verification failed
This can be fixed by formatting the USB flash or SD card you used to store the recovery media. You can do that by plugging the USB into a Windows system and reformatting it. After Windows recognizes it, you can right-click on the drive and select format. Run the tool after formatting and download the image again.
2. An unexpected error has occurred
To solve this issue, erase the storage device and try the recovery again. You can use a different USB flash drive or an SD card to store the recovery media.
3. Please remove all connected devices and start recovery
Remove all the extrinsic gadgets connected to your device like keyboard, mouse, cables, etc. Then enter recovery mode by the above-mentioned steps.
4. Download interrupted
It can be a glitch with the wifi or any other mode of internet connectivity of the device. Double-check your internet connectivity and make sure that it is okay.
5. The device you inserted does not contain Chrome OS
If this message pops up, first of all, confirm that you have inserted the USB drive or SD card used for recovery media creation. If the storage device is correct and is properly inserted, there may be a problem with its functionality. Try erasing the USB drive and recovering it again. If that doesn’t work, then try a new SD card or USB drive.
6. The security module of this device is not working
This error occurs when you usually using a Chromebook from work or school which has administrative privileges. Contacting your school or work admin or contacting the customer service of Chrome office will come in handy to fix this error.
7. Screen freezes without an error message
If such a thing happens while recovering, then the only way to resolve is power washing which we have explained later.
8. An update is essential
There are many cases where users experience various errors while downloading and using the Chromebook Recovery Utility. The application hasn’t been updated since 2018. There is a sure need for an update for the extension with increased features and reduced glitches.
Chromebook Recovery Utility Alternative
There is no proper alternative for the Google Chromebook Recovery Utility app. As Chrome does not support executable(.exe) files, there is no other option to be kept in place. The only options after CRU failure are troubleshooting for a solution or powerwashing. No third-party tool is available right now.
Conclusion
Every device and piece of technology is prone to glitches. One time or another, there will be issues that need to be fixed. Basic technical skills and some simple apparatus are all that takes to repair most of the device issues related to software. You can always try out the troubleshooting center hosted by Google to find out the cause of the issues you are facing.
Note, always try to do the simple thing first before removing your entire data or creating a whole new OS. Chromebook recovery utility is an easy and elegant tool for resolving internal Chrome conflicts but if you don’t see a way out of it, always opt for the powerwashing technique.

I am an Electronics and Communication engineering student from Kerala with a passion for tech writing. I enjoy challenging assignments that require my knowledge and skills. My technical skills include languages Python, C, C++, Arduino. Also, I have experience in Flutter development.