Many devices now come with the moisture detected feature built-in in S9 or S9 Plus too. Sometimes, it is very frustrating but easy to fix. This feature is present in many smartphones available in the market. Some of them are the Samsung Galaxy S8/S9/S10, LG G6, Huawei P20 pro. In this article, we will be talking about the Samsung Galaxy S9. So, what does the feature do? Why are many companies opting to add this feature to their products? Let’s find out. Starting with the basics and fix the issue related to moisture detected S9.
Moisture detected S9 alert, what is does this alert mean?
These days many devices come with a built-in moisture detector. The Samsung Galaxy S9 comes with a moisture detector with IP68 ratings. The detector sends an alert to your device in the form of a pop-up if it detects any moisture in the device. It may be found on the charger or in the charging port. Furthermore, this alert doesn’t allow you to charge your phone till there’s no moisture present. Also, this alert will temporarily disable the function of your headset/headphones. The alert is a notification of sorts where it allows the user to fix the problem before there’s any actual damage caused to the device. It saves the phone from further damage as charging while there’s moisture can cause various issues in the device. It is a safety precaution to ensure that both the device and the user are not harmed while charging the device.
Do not miss: Moisture detected S7
What causes this alert?
The alert occurs when there is some moisture detected in the charging port or on the charger itself. If you try charging the device it will make an alarm which will continue till the charger is disconnected. The device will not charge. The battery will die. This pop-up will be visible till there is no moisture detected. The alert can be caused by many reasons.
Reasons for the alert:
The reasons for this alert could be:
Reason1: If the device has been in contact with water or any other liquid.
Have you dropped your device into the water at the beach or pool?
If you have, the device was subjected to water. That is, it was dropped into the pool or the sea. There might be some moisture that’s still present inside the device, which causes the alert to pop up.
Reason2: If the device is in a humid environment.
Do you live in a humid country?
If you do, it could be why this is happening. Since there’s already a layer of moisture present in the atmosphere due to the tropical conditions. The moisture can get settled onto your charging port or charger, which may cause this alert to pop up.
Reason3: If the device has never been subjected to moisture and there’s still an alert.
Are you sure that your device hasn’t been in contact with any liquid and you’re still receiving this alert?
There might be a problem. Previously, we have seen cases where the device has not been in contact with any liquid, there’s an alert still shown on the device. This could mean that maybe there’s a problem with the charger. Check the charger. Does the surface of the charger looks corroded? There’s a layer of rust formed on it. Change your charger. It could also mean the device might have some built-in issues.
How long will it take for the alert to go away?
The moisture detected alert is very easy to disable and will not take much time to go away. The methods may be time-consuming but will ensure that your device will not be damaged. The way to fix /disable such alerts is mentioned below.
Learn more: Moisture in USB Port
How to fix Moisture detected S9 issue?
Since you are unable to charge your device, and the pop-up is persistent even in S9 plus. If nothing is done, the device will shut down. To continue using the device, we have to fix it. There are many ways that we can use to disable the alert. Some of the ways are listed below.
Steps to disable the alert:
Tip1: Dry the device
The first thing to be done is to make sure that the device is completely dry and there’s no moisture residue on the charging port or charger.
Steps to taken to dry the device:
a) If the device was /has been in contact with a liquid:
- If the device has been previously dropped in water, start with drying the device.
- If the device has been dropped into any other liquid, first wipe down the device with the help of plain water and a soft cloth.
- Try removing the maximum amount of moisture.
- Once the device has been sufficiently wiped, place it in a box filled with rice. This will ensure that the device becomes dry as the rice will remove the excess moisture that was present in the device.
b) If the device hasn’t been exposed to any liquid:
If the device hasn’t been in direct contact with any liquid, there’s still an alert.
- Wipe the device with the help of a soft cloth.
- Allow the device to dry on its own for 1-2 hours so that the moisture evaporates on its own.
- Gently shake your device to dislodge any moisture that’s stuck in the charging port of the device.
- Speed up this process by gently wiping the charging port and charger with the help of a small tissue. While wiping the charging port ensure that you are not using any force which may cause damage by bending the charging pins.
- Disclaimer: Don’t put any objects inside the charging port; it can cause damage to the pins.
- Using a magnifying glass see whether there’s any moisture or a foreign object like lint, grain of sand stuck in the charging port
- If you happen to see any moisture in the charging port or any foreign body, you can remove the water or the sand with the help of a portable vacuum cleaner. The vacuum cleaner is used at all the ports to suck the excess moisture or any debris out which may not be easily visible.
- If there’s any dirt formation or presence of any rust on the surface of the charger. Clean it gently with the help of an alcohol swab. Remember to let the device dry for 3-4 minutes before plugging on the charger.
- Once the device has been sufficiently dry, we can try connecting the charger.
- Try connecting the charger now. If the pop-up disappears and the device starts charging, your problem is solved.
If this problem persists, let’s move onto the next method.
Tip2: Restart your device
Once the device is dried, the pop-up has still not gone. You might need to restart your device.
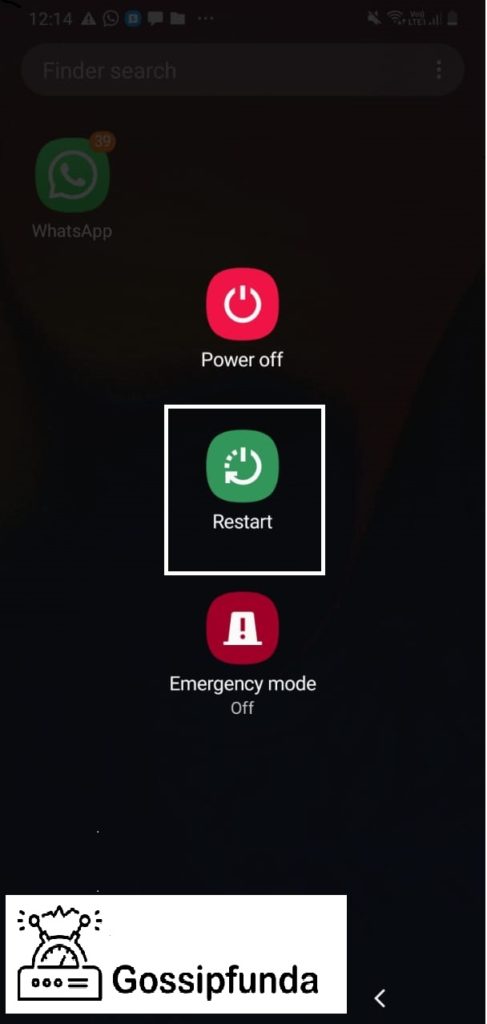
Steps to restart your device:
- Assure that your machine has ample battery power(>55%). If your device doesn’t have sufficient charge the device will not be able to switch on.
- Hold/press down onto the volume down key and the power down button simultaneously for almost 10 seconds.
- Your device will switch off and will switch back on, on its own.
- Once your device switches back on, it has been restarted. The Samsung logo will now be displayed on the screen.
- Now try plugging your charger into the device, if the pop-up disappears and the device can charge. Your problem is solved.
If this doesn’t work. Move on to the next method.
Tip3: Factory reset
If the problem persists after both drying the device and restarting the device, there might be a firmware issue. Start by resetting your device.
Before doing the factory reset, ensure that all your required data and files are backed up. If you choose to do this method, remember that all your data will be deleted. The phone will be brand new and all your emails, contacts, text messages will be deleted. If the data is backed up you can retain it very easily.
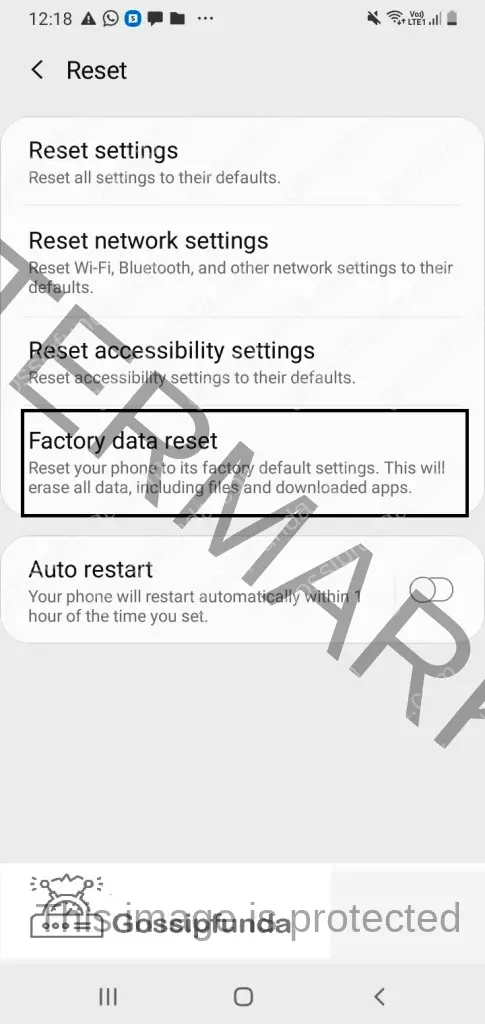
Steps for factory reset:
- First, ensure that you have backed up all the data that you require using any convenient method.
- Turn off the device with the help of the power button
- Press and hold the volume up button and the Bixby key after this press and hold the power button.
- When the android logo (green) will be displayed, let go/release all the keys.
- Installing system updates will appear on the screen for some time, the android recovery menu options will be displayed next.
- Now press the volume down key multiple times, this will highlight the options in the menu
- Choose the ‘wipe data/factory reset ‘ option.
- Press on to the power button to select that option.
- Next, Press down on the volume down key, till it ‘delete all user data is highlighted.
- Press the power button to select that option, starting the master reset of your device.
- Once the master reset of your device is complete, the option Reboot system will be highlighted.
- Press the power button to restart your device.
- Now your device has been successfully reset and it’s now good as new, your moisture detected S9 will get fixed. The alert should not be visible and your device should be able to charge comfortably.
If the device is still displaying the moisture detected message, there might be an underlying issue with the device.
Alternate ways of charging with Moisture detected S9
Method 1: Skip through the alert
In this method, you can try charging your device even with the pop-up alert. By doing this, you will be able to skip through the alert and still charge your device
Steps to do this method:
- Turn off your device. Using the shutdown option by pressing the power key on the device.
- Plugin your charger to the device whilst it is still in the switched-off mode.
- Now, switch on your device.
This method will be able to remove the alert “moisture detected” from the screen and your device will be able to charge.
Remember to allow the device to charge completely to 100% before using it. Removing the charger mid-way will cause this method to fail.
Method 2: Using Safe mode
Using Safe mode – Another alternative to charge your phone and use it simultaneously
Charging your device using safe mode:
If you can’t wait for your phone to charge whilst it is switched off or if you’re in a hurry. If you are waiting for an important message, email then there is another method that you can use to charge your device. Steps to make your device run in safe mode:
- First switch off the device,
- Press the power key and hold it till the Samsung logo appears on the screen.
- When the logo appears on the screen, let go of the power button.
- After letting go of the Power key, press and hold the volume down key
- Keep pressing the volume down key till the device finishes restarting
- Once the device finishes restarting, the safe mode icon appears at the bottom of the screen of the device
- When the safe mode icon is visible you can let go of the volume down key
- Now, you will be able to charge your phone like normal, as your device has entered Safe mode.
This method is a temporary fix for the problem that the device is facing. It would still be recommended to try fixing it using the above-mentioned methods to avoid damage and ensure the safety of both the device and the user
Method 3: Using a wireless charger
In this method, you will be able to charge your phone without inserting the charger. The moisture detector is activated only if it senses any moisture at the charging port. Since we will be using the wireless charging option, the detector will not be activated and you can easily charge your device.
Method 4: Professional help
If all else fails and these methods have been of no use and you are still having trouble with the alert in your phone. There might be some underlying issues in your device that aren’t being addressed. Seek professional help. Try contacting the nearest Service Centre. They will surely be able to solve your moisture detected S9 problem.
Conclusion
In conclusion, although this moisture-detected feature present in the Samsung Galaxy S9 or S9 Plus seems unnecessary. It has proven to be essential in the long run. This feature not only provides safety to the user but also protects the device from further damage. The alert is easy to disable and doesn’t take much time to go away. This feature allows the user to ensure that their device is in a good condition without any firmware issues. Thus, the device ultimately benefits from the presence of the detector. Hopefully, you have managed to fix this issue. If the issue is not solved contact the nearest service center. Hope this article has been of help.
Awill Guru is a technology enthusiast with degrees in VLSI Engineering (B.Tech, M.Tech) and Android Development. Their passion for education drives them to teach and share knowledge through their blog. He also hold qualifications in Sociology (M.A.) and Education (B.Ed), along with NIELIT O and A Level certifications.


