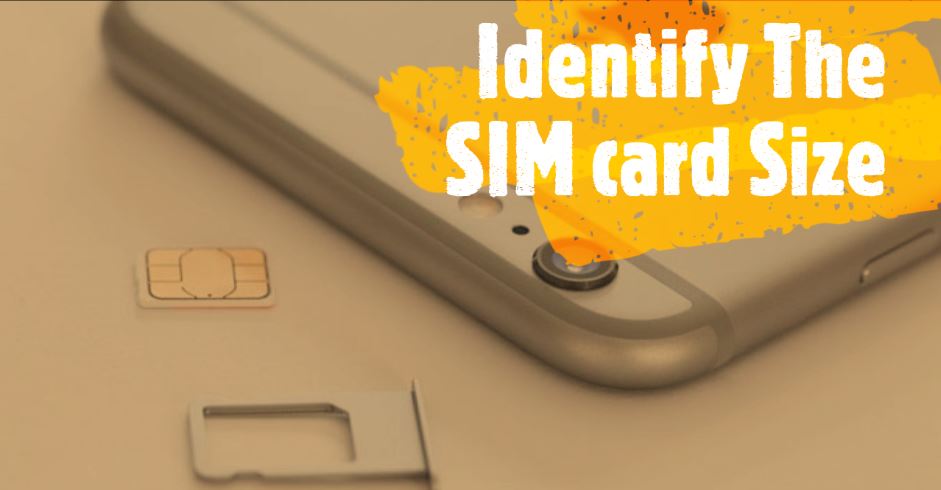
How to Remove SIM card from iPhone
How to Remove SIM card from iPhone?
Easy guide to learn how to remove or replace the SIM card in your iPhone
Using an iPhone is always special and I am a firm believer of the opinion that the iPhone is one of the most revolutionary gadgets ever to be presented in the global market. It not only summarises the futuristic vision of Apple Inc. but also gives its users a flawless and delightful experience.
Not only does Apple has brilliant user experience and interface, but Apple has also been a big impact on mobile radio technology as they were the first to launch a telecommunication gadget with Micro-SIM card with the introduction of the iPhone 4. If that wasn’t enough, they were also the first to launch a product with the Nano-SIM cards.
Do not Miss: Transfer contacts from android to iPhone
Use of SIM cards
All iPhones and iPads accompany SIM card slots on their sides. A SIM (short form for Subscriber Identity Module) card is used by the network provider to provide the customer with a unique Customer Caller ID which enables the user to use the contact number assigned to him. You may need to remove the SIM card for local or International use. Even when you need to switch operators.
A few smartphones have what is known as a SIM lock. This is a property that attaches the SIM to a particular network company (normally the one that you purchased the network from initially). Smartphones without SIM locks are regarded as unlocked smartphones. You can, for the most part, buy an unlocked smartphone at the full retail cost. In certain nations, particularly the U.S., the iPhone has a SIM lock.
Need to remove SIM card
You can pretty simply eject the SIM card from your iPhone and insert it into another smartphone, so you can transfer contact numbers backed up in your iPhone and other important data to another smartphone. iPhone doesn’t allow you to back up your contacts on the SIM card. No data back up or copy data from the iPhone’s SIM. iPhone has its own Cloud storage known as iCloud, where you can save your data. Thus, inserting another SIM into your iPhone won’t hamper your contact book data and other delicate data.
You may need to eject your SIM card anytime. Also, you might need the old SIM card to use it on some other device. Or you can upgrade your data speed( 3G to 4G) and also switch the network provider for better signal in your area. Here are the steps to eject the SIM card of any iPhone!
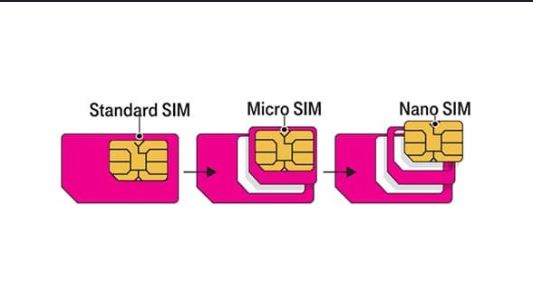
STEP 1:- Identify the SIM card size.
Each iPhone has a SIM card. There are three sizes of SIM cards in iPhone models:
SIM: This is the first size of the SIM. It was similar to the dimensions of a chip found in credit/debit cards.
Micro SIM: With the launch of the iPhone4, Micro SIM design was introduced for the first time. It is smaller than the Original SIM in terms of dimensions.
Nano SIM: The Nano-SIM design came into the Apple products after iPhone5 was launched with a Nano-SIM design.
Read also: $1000 Gaming PC Build Guide
SIM card sizes for All iPhone models
| iPhone Model | SIM card Type |
| First iPhone | SIM |
| iPhone 3G and 3GS | SIM |
| iPhone 4 and 4S | Micro SIM |
| iPhone 5, 5C, and 5S | Nano SIM |
| iPhone 6 and 6 Plus | Nano SIM |
| iPhone SE | Nano SIM |
| iPhone 6S and 6S Plus | Nano SIM |
| iPhone 7 and 7 Plus | Nano SIM |
| iPhone 8 and 8 Plus | Nano SIM |
| iPhone X, XS, XS Max and XR | Nano SIM |
| iPhone 11, 11Pro and 11Pro MAX | Nano SIM and eSIM* |
*– Models coming with DUAL SIMs in China Mainland and Hong Kong (when applicable).
There are some exceptions in SIM designs in Apple products. One of them was the iPad model that was associate with 3G and 4G network which utilized an Apple SIM made by Apple Inc.
STEP 2:- Find the SIM tray location.

You need to look at the sides of your iPhone and you will find a tiny 1mm hole. The hole is made to enable the user to eject the tray.
The following are the locations of the SIM card tray on every iPhone model:
SIM card location for All iPhone models
| iPhone Model | SIM Location |
| Original iPhone | Top, between the power button and earphone jack |
| iPhone 3G and 3GS | Top, between the power button and earphone jack |
| iPhone 4 and 4S | On the Right side |
| iPhone 5, 5C, and 5S | On the Right side |
| iPhone 6 and 6 Plus | On the right side, below the power button |
| iPhone SE | On the Right side |
| iPhone 6S and 6S Plus | On the right side, below the power button |
| iPhone 7 and 7 Plus | On the right side, below the power button |
| iPhone 8 and 8 Plus | On the right side, below the power button |
| iPhone X, XS, XS Max, and XR | On the right side, below the power button |
| iPhone 11, 11 Pro and 11 Pro Max | On the right side, below the power button |
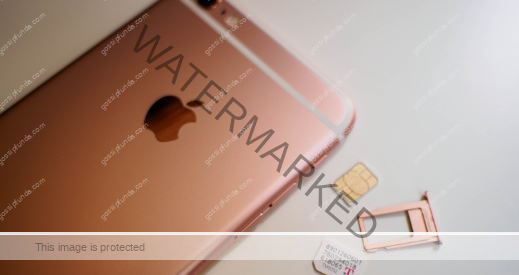
STEP 3:- Eject the SIM card tray
The main step. It recommended using the SIM ejector tool provided by the company itself. Sim is situated in the box which contains the brand new iPhone. It is small in size so make sure you keep it safe and don’t lose it.
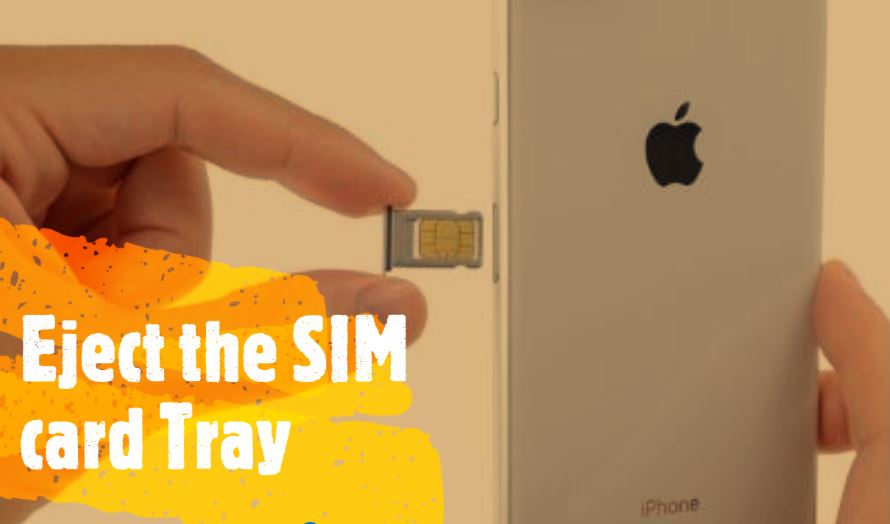
Using SIM Eject Tool:-
Start by finding the SIM card slot on your iPhone. It will be pretty easy. Try to find a hole on the sides of the iPhone. It will be extremely small.
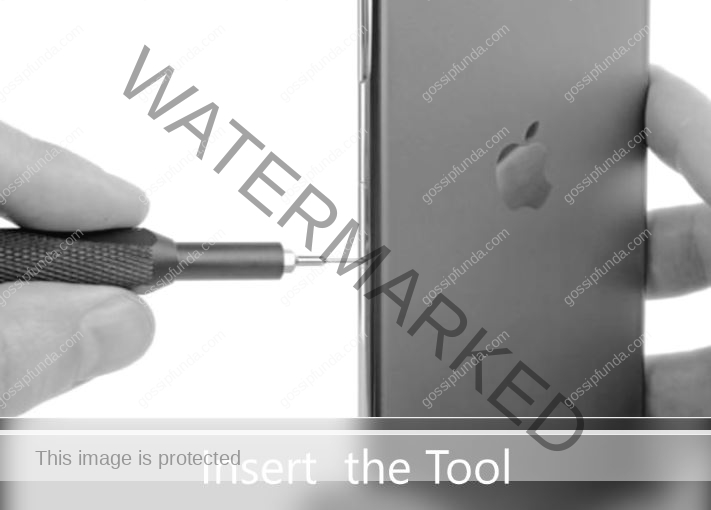
Insert the SIM ejecting tool into the hole on the tray.
Push the tool inside delicately to eject the slot.
Pull the tray out and remove the SIM card.

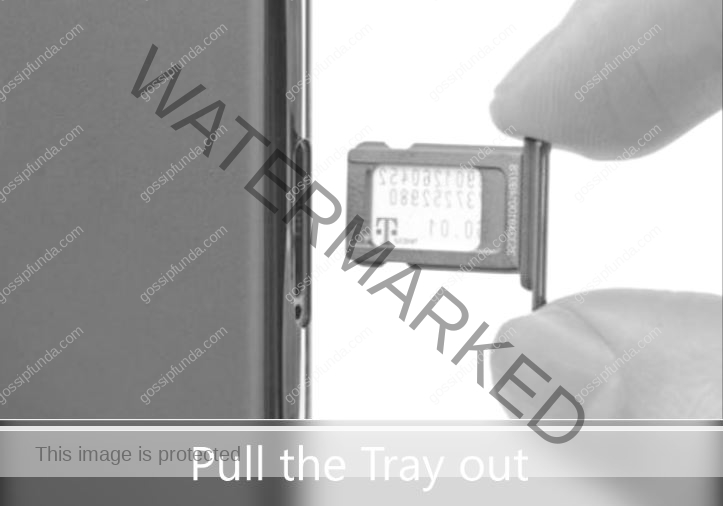
You can easily lift the card from the slot.
On the off chance that you intend to insert another SIM card, focus on the position of the present card before ejecting it. This will make it simple to insert the new card into the slot.
Put the new SIM card (Optional) into the slot and reinsert the plate. The SIM card will just fit into the slot in one way/orientation
Using Paperclip:-
In case you don’t have a SIM card Ejecting tool, here are the instructions on how to use a paperclip.
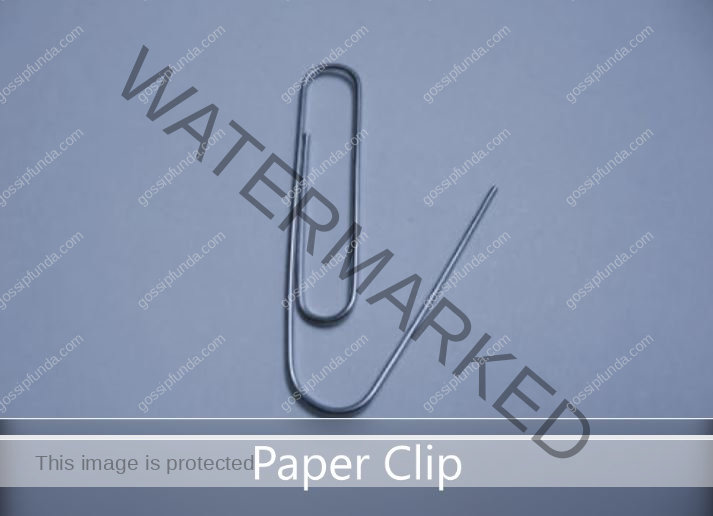
Hold the Paperclip with the tip towards the SIM card tray hole and insert it.
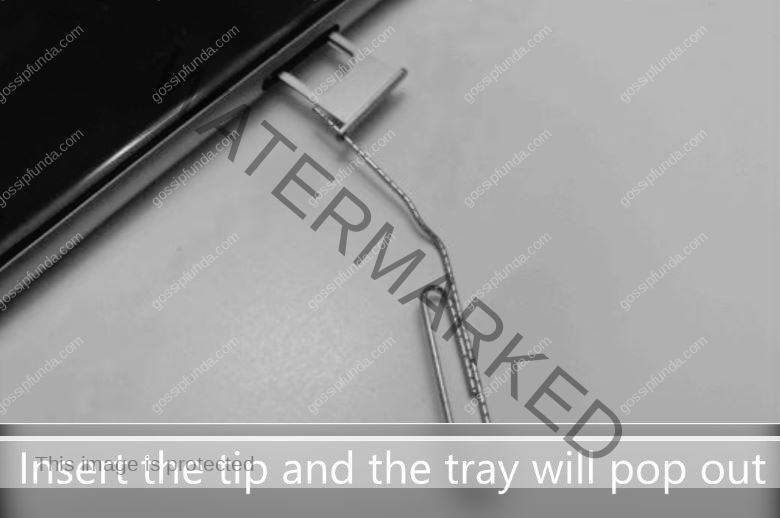
Press (not very hard!). It’s somewhat precarious, you need to insert the tip cautiously to ensure you are not harming the SIM card and the slot. Curve the paperclip somewhat until you get enough resistance for the paperclip to pull out the little tray.
Important tips:-
A number of iPhone X and 11 models have space for two NANO SIM cards rather than only one. If you have double SIM cards in your plate, ensure you’re ejecting the one you don’t require. You will, for the most part, observe the network provider’s name on the card.
Remember that you must never force push the tray back into the slot. You can break the SIM card slot circuit making your iPhone or iPad unable to use any network.
The SIM card should always be fit properly into the slot and pushed inside with utmost care. Otherwise, it will break the SIM card tray and signal reception circuit.
iPhone Sim Ejection
by Harshita Verma
Having a problem removing a sim card from an iPhone? Here we have four easy steps to do that. But first, don’t attempt to remove the SIM card while the device is power on that will cause so many harms to the sim card or device.
iPhone 5s to iPhone 8 plus has SIM tray on the right edge of the device whereas iPhone 3G and 3GS had it at the bottom.
Make sure to remove the SIM tray by ejection look given with your phone or half bend paper clip (do not use safety pins that can cause serious damage to your device) to unlock the tray by inserting it into the provided slot.
However, if you’re using a paper clip, straighten the long end till you separate it a little from the clip, however, if you’re using another object for removal of tray make sure it is narrow enough to fit in the SIM ejector slot.
Then carefully remove the SIM card from the tray (do not modify or alter your SIM card you will end up creating serious damage to the device).
SIM cards are of three type standard, smaller, nano your iPhone can only support small and nano-SIM card so make your to crop the SIM to a given size(i.e small and nano) insert SIM card make sure that the gold contacts are facing away from the screen and the back color linear-shaped notch is located in the upper-right side.
Insert the SIM card tray back in (press in on the tray to lock it in) however in iPhone X, iPhone XS Max, iPhone 11 Pro or Pro Max can hold two nano-SIM cards.
Switch on your device which for a few minutes for your iPhone to catch networks, if you’re having a problem regarding the same . Go to settings or call customer care if the problem continues
For more Useful and Refreshing Tech updates and articles, subscribe to gossipfunda.com
Hello guys, my name is Kartikeya Sinha. My friends also call me “Cdo”. I hail from Lucknow, India. I am a simple, confident and honest guy with big goals that I wish to achieve with hard work and patience. I love writing as I find it extremely fun and useful. I have been writing for quite some time now. I found my love for writing in early childhood as I grew up as an only child and books were one of my best mates. I believe that writing is the only way I can truly express what I feel and if I’m good enough, I can even change the world someday.


Pingback: How to transfer music from iPhone to android - gossipfunda
Pingback: How to Block text messages on android? - gossipfunda
Pingback: How to turn off find my iPhone: cool hacks - gossipfunda