Google Search Widget Bar: Restoring, Removing, and Activity
Google Search Bar: Though the Google Search Widget Bar has been gaining more love, it still has a long way to go. People still do prefer chrome or any other browser over. And one of the reasons could be because they don’t know its basics. Unfamiliarity lies in restoring and removing the bar from the home screen. Moreover, deleting your history is a bit unknown to some as well. So if you want to find the answers to all such questions and a bit more, stick around till the end of this post.
Google Search bar widget
The widget bar that lets you access Google has become more popular in the past few years. It really does allow the user to search for stuff a bit faster. Moreover, it does add a nice touch to the home screen as well. The simple design and ease of use are among other things to look forward to. So, if you don’t use the app, you should. It is the same old google at your finger times, just quicker.
Google Search bar on Android
Yes, the widget for the Google Search bar is available on iPhones and can be downloaded on several other platforms as well. But in this post, you will be reading things related to the one that comes with a standard Android device. Just a word of notice.
Check out: Google Chrome extensions Android
Restoring Google Search bar
Putting up the Google Search bar widget on your front screen or home page is a piece of cake. In fact, even kids are doing it by themselves these days. So you better get up to speed with it. But coming back to the topic, the front screen is not the only place where you can put it up. That is you can also give it space in the extra screens beside the home.
Here is what you need to do:
- Go to your home screen or to the screen where you want the search bar.
- Tap and hold anywhere on the screen, as long as you are not doing it on an app or another widget. Just do it in any empty space.
- Depending on your phone, you will see some options either on the top or bottom of the screen. These will usually include things like wallpapers, widgets, and home screen settings. But your choice has to be Widgets.

- Now you can see several widgets on your screen. Scroll till you find, the one for Google Search bar.

- After you find it just tap on it and it will appear on the screen.

- While you are still in the screen edit mode, you can place the widget wherever you want to on the screen. Provided that there is enough space for it. Furthermore, you can also move it to another screen.
These steps have minor variations from device to device. So keep that in mind.
Removing Google Search bar
There are people who don’t really want to keep the said widget on their screen. This is because they don’t use it on a regular basis. Moreover, for some people, the search bar does put off their wallpaper a little. But in most phones today, the search bar will be present on the home screen from the time of first use. So they don’t bother with it for a while. Though as soon as they get comfortable with their new phone, they opt to get it removed.
So if you really want to remove that widget from your screen, then here is how:
- Go to the screen where the widget is placed.
- Tap an hold on the screen for a while. But don’t do it on an app or any other widget. Just pick out an empty place for it.

- You will soon enter screen edit mode. Now you will see a cross-sign on one of the upper corners of every app and widget on that screen.
- Tap on the cross and you the search bar will be removed.
- In older models, you have to drag the app to an are labeled Remove to get rid of it.
In newer models, there is yet another method to do the same. And here’s how:
- Go to the screen with the Google Search bar Widget.
- Tap and hold on the bar for some time.
- A remove button will appear on the screen, just below the search bar. Choose the option and the widget will disappear.

Clearing data on Google Search bar
Method 1
To delete individual search results you can use the search bar on My Activity page to delete them. But if you don’t remember exactly what you searched for then you can go check them out in history. You can find it at the bottom of the same page. You will find everything there.

Method 2
- Open up the search bar. For this click on the G icon on it’s left end.

- Now, you will see several options at the bottom of the screen. Select the one called More. It is the one at the right end.

- The next screen contains several settings and some details. You will see your name and google account right at the top of the screen. And a Search activity options right below it. Choose it.

- The following screen has a search bar meant just for tracking your activity. Moreover, there are three vertical dots on its right end. Go right ahead and tap on those dots.

- Among the items on that list, you can spot Delete activity by option. Select it.

- Now you will come across several options to delete your search history. The first option is the Last hour and choosing it will delete the history of everything you searched for during the past 60 minutes. And below that is the Last day. It is similar but deletes the activity of the past 24 hours.

- The third option is called Always and clicking on it will help you reach a screen as shown below. You can see several items on that list. So you can delete the kind of history that you want to. For example, you can delete only image history and leave out the videos.

- Click on Next at the bottom of the screen and you will be prompted to confirm your decision about clearing the activity. So press Delete if you wanna go thorough.

- After that, a page informing you of completion will appear depending on how much you deleted. Just press OK to leave the page.

- The next option after Always is the Custom range option. Choosing will lead you to the screen below. Here, you will be able to choose the dates between which the history you want to clear lies.

- Pressing the Next button will have the same result as it did in the case above.
Method 3
- Click on the G icon and open up the bar just like before.
- Choose the More option at the bottom of the screen once again.

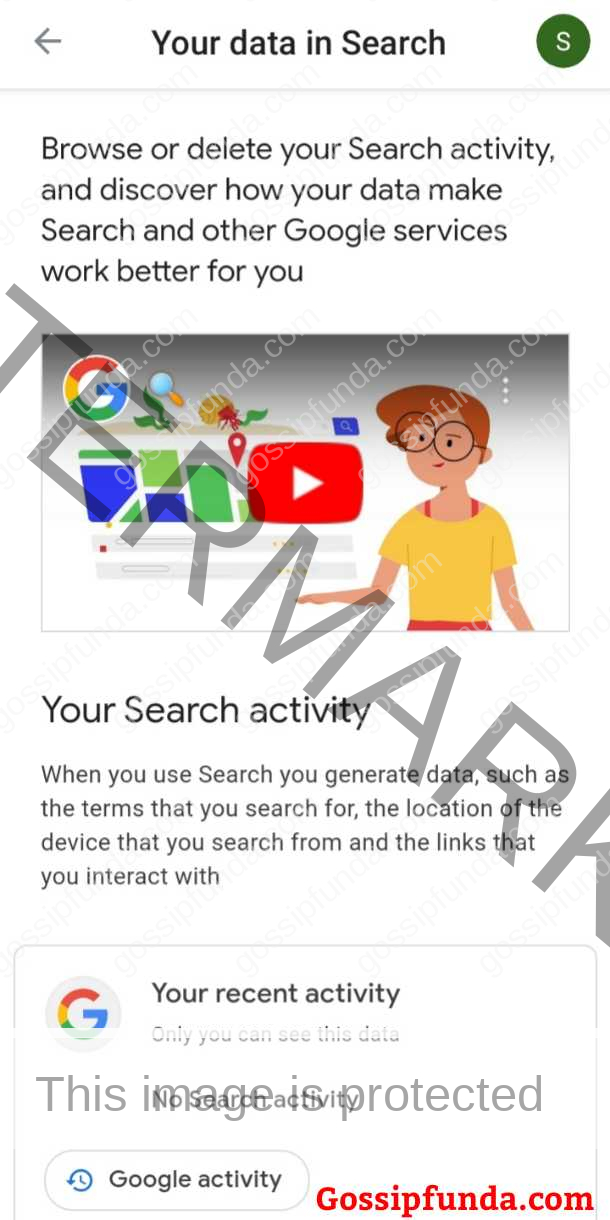
- This time around, go with the Your data in Search option in the lower section.

- Scroll down a little on this page and you will see a section called Delete your Search activity.
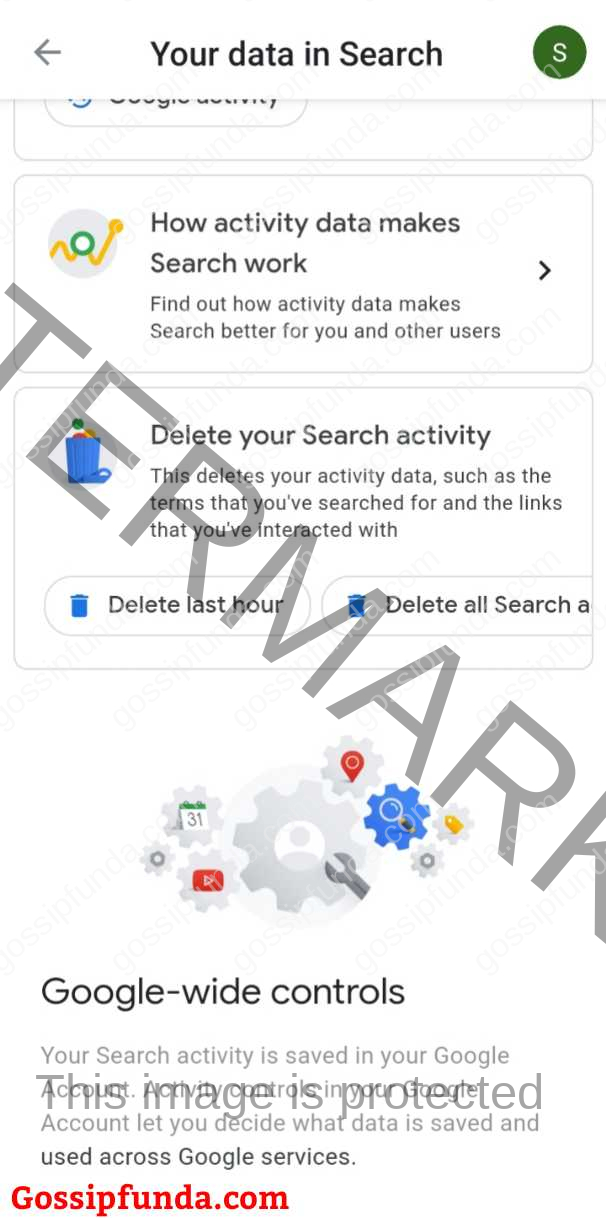
- There will be two options below it, Delete last hour and Delete all Search activity. Choose the one you need.

- When the confirmation page comes, select Delete.

Automatic clearing of activity and setting preferences
- Click on the G icon on the search bar and then choose the More option at the bottom of the screen.

- Now select the Search activity option.

- Scroll down but don’t go all the way to the bottom. There will be a Web & App Activity is on section and you will see a Change setting option below it. So tap it.

- There will be two options here. The first, which helps to keep the activity of chrome and other apps that use google. And the second that lets you keep the audio and recordings of voice search. Check the boxes as per your need.

- Select Close to exit.
- There will be another section below this one with a Choose how long to keep options at its bottom. Tap on that option.

- The following page will have three options. First, Keep until I delete manually. This option will clear out the activity only after you delete it yourself. Second, Keep for 18 months. Selecting this will keep the activity around for 1 ½ years. Finally, Keep for 3 months, which will get rid of it after 3 months.

- Choose the options you need and then select Next.
- The next page will show you the confirmation and you can tap on the OK option to exit.

Don’t miss: How to remove a google account from your phone?
Conclusion
The post has given you all the necessary details you need to get started with that widget bar. You even read about setting preferences and automatic clearing. So now there is no reason for you to rule out a test drive of that search bar. Go on ahead and explore.
I am Suraj Suresh, an aspiring mechanical engineer. I’m from a small town, Thiruvanvandoor from Chenngannur, Alappuzha, and I intend to go big with some kind of startup one day. A part-time job is not a new thing to me, even before writing I did catering and decoration gigs. Being a somewhat smart kid from a middle-class family, I do have the desire to look for new opportunities that help me grow and become better. I am honest, friendly, practical, and straightforward. Despite relying on writing for a while now, I do plan to switch to engineering design works as soon as possible.


