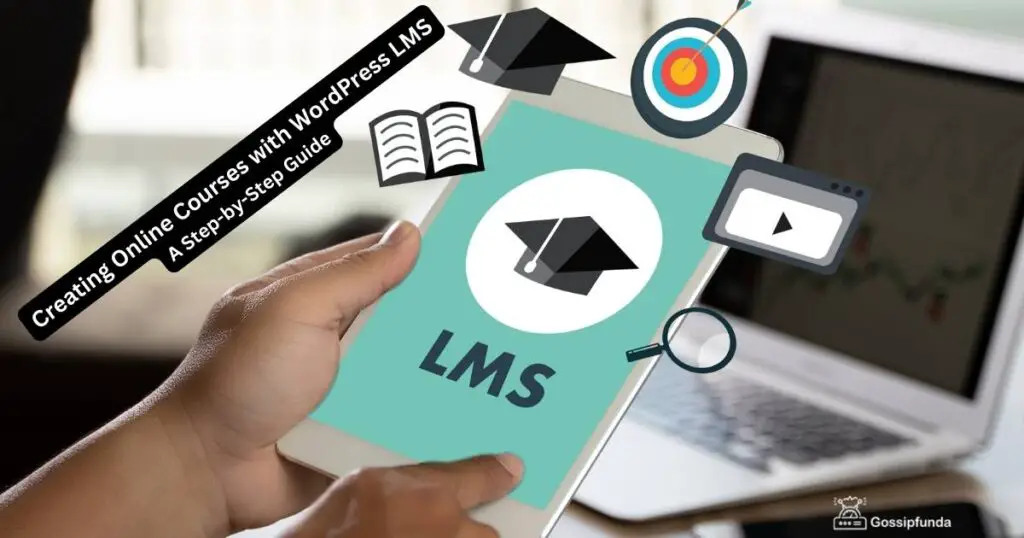
In years, the popularity of creating courses has soared, and it is no wonder why. Online learning offers flexibility and convenience for both students and instructors. WordPress proves to be a platform for hosting and managing these courses. This step-by-step guide will walk you through creating courses using WordPress LMS.
Step 1: Selecting a WordPress LMS Plugin
The initial step in creating courses with WordPress is to choose a plugin for your Learning Management System (LMS). There are used options available that come with their unique features and functionalities. Popular choices include LearnDash, LifterLMS, and Sensei.
When deciding on an LMS WordPress plugin, consider factors such as user-friendliness, support for content types (videos, quizzes, assignments), and integration capabilities with payment gateways. Opting for a plugin that receives updates and boasts developer support is also crucial.
Step 2: Installing and Configuring the LMS Plugin
Once you have settled on a WordPress LMS plugin, the subsequent step involves installing it onto your WordPress website and configuring its settings accordingly. This typically entails downloading the plugin from the WordPress repository or manually uploading its files onto your website.
After installing the plugin, you’ll need to configure its settings. This involves providing information about your course, including its title, description, and pricing. Additionally, you might need to set up payment gateways and adjust settings based on your needs.
Step 3: Develop Course Content
Once the LMS plugin is configured, it’s time to start creating the content for your course. This typically includes crafting lessons and modules that will be presented to your students. Depending on your LMS plugin, there may be options for creating course content.
Most LMS plugins offer a user interface that facilitates the creation and organization of course content. You can quickly generate lessons incorporating media types (text, images, videos) and structure your course logically and coherently. Furthermore, you can incorporate quizzes and assignments to evaluate students’ comprehension of the course material.
Step 4: Establish Access and Enrollment
Once you’ve developed your course content, it’s essential to establish access methods and enrollment procedures for your students. This entails determining how students will gain entry into your course and how they can enroll in it.
Numerous LMS plugins provide options for configuring access and enrollment mechanisms. For instance, you can grant access to the course as soon as enrollment is completed or deliver the content gradually over time to create a well-structured learning experience. Another possibility is limiting access to lessons or modules based on prerequisites or content completion.
Step 5: Customize and Design Your Course
To ensure a captivating learning journey, it is essential to personalize and design your course. Most Learning Management System (LMS) plugins offer customization features that enable you to modify colors, fonts, and layout according to your branding or personal preferences.
Moreover, you can incorporate elements like your logo or custom header to enhance the appeal of your course. Additionally, consider incorporating engaging graphics and interactive elements that contribute to a learning experience.
Step 6: Test and Optimize Your Course
Before launching your course, it is crucial to conduct testing and optimization. This entails checking for any issues, such as links or formatting errors, while ensuring all course content is accessible and functions correctly.
Additionally, seeking feedback from a group of beta testers or trusted individuals can prove valuable in identifying areas for improvement or optimization. To ensure that your course meets the needs and expectations of your target audience, it’s essential to incorporate their feedback.
Step 7: Launching and Promoting Your Course
Once you have thoroughly tested and optimized your course, it’s time to launch it and promote it to your desired audience. Create a captivating sales or landing page highlighting your course’s advantages and value. Utilize writing techniques and appealing visuals to convince students to enroll.
You can also utilize marketing channels such as media, email, and content marketing to promote your course effectively. Additionally, consider introducing limited-time promotions or discounts to create a sense of urgency and encourage enrollment.
Step 8: Analyzing and Enhancing
After launching your course, it is crucial to analyze its performance by leveraging the data and feedback you receive. Learning management system (LMS) plugins offer built-in analytics and reporting features that allow you to track student progress, engagement levels, and completion rates.
By analyzing this information, you can identify areas where students may need help or gain interest. This will enable you to make improvements to enhance the learning experience. Additionally, consider gathering student feedback through surveys or testimonials to gain insights into their experiences with the course. This will help identify areas where further enhancements can be made.
To sum up, utilizing WordPress LMS to develop courses is a method of disseminating your knowledge and skills to a worldwide audience. By adhering to these instructions and using the capabilities offered by a WordPress LMS plugin, you can produce captivating and interactive online courses that bring value to your students, assisting them in reaching their learning objectives.
I am passionate about my work. Because I love what I do, I have a steady source of motivation that drives me to do my best.
I’m not comfortable with settling, and I’m always looking for an opportunity to do better and achieve greatness. I have a keen interest in the technical field. Apart from this, I am a social media influencer.