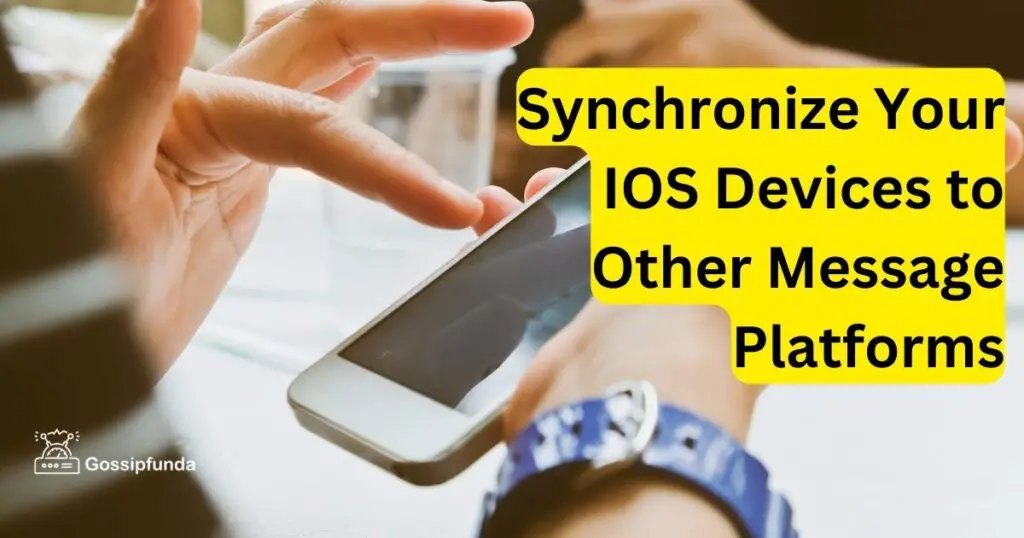
Are you looking for a way to keep track of all your conversations on different messaging platforms? Do you have multiple iOS devices but don’t want to miss any messages no matter where they arrive?
Today, people rely on multiple messaging platforms such as WhatsApp, iMessage, and other social media networks like Facebook, Instagram, and Twitter. With an array of different apps, it is becoming increasingly difficult to track all our conversations in one place.
Good news! Apple now allows users to sync their iOS devices with other message platforms so that they can easily send and receive messages from the same device. In this article, we will discuss how you can synchronize your iOS devices with other messaging platforms and what advantages this brings along.
Can You Synchronize Your IOS Device with Other Messaging Platforms?
iOS devices such as the iPhone and iPad use the standard iMessage platform to send and receive messages with contacts. But what if you don’t want to use iMessage on your devices? What if you want to use WhatsApp or even a different email client?
Well, iOS users will be happy to know that you can synchronize your device with other messaging apps. Depending on the platform, you may need to download an app in order to send and receive messages.
To sync your iOS device with other messaging platforms, you must first enable iCloud synchronization on your device in the Settings app under the Passwords and Accounts section and also ensure that Use Keychain is also enabled.
Once this is done, you can access your contacts and messages from a variety of different platforms when signed into that same Apple ID. If some of your contacts are using a different platform, such as iMessage or an Android phone, they may need to be manually added to Messages in order for them to be synced across all devices.
How to Choose the Right Messaging Platform for Your iOS
Choosing the right messaging platform for your iOS will depend on what you want to use it for. For example, if you have many contacts on social media, you want to keep in touch with; then you’ll want to install Facebook Messenger or Twitter.
If you need a messaging platform for business, then you’ll need a secure email client. And lastly, if you want to use other instant messengers, you can opt for Signal, Viper, Telegram, or WeChat. Make sure the messaging platform you choose has the following features:
- Quick and easy setup
- User-friendly interface
- High-end security
- End-to-end encryption
- Private chat options
- Push notifications
- The ability to sync across devices
On the other hand, if you need to utilize your iOS messaging platform on a computer, there are ways you can use iMessage for PC. This could help if your iPhone or iPad is in for repairs or they’re charging.
Step-By-Step Guide to Synchronize iOS To Various Messaging Platforms
If you’re new to iOS devices, you may not know exactly how to start using various messaging platforms on your phone or iPad. To assist you, we’ve created an easy guide that will help you achieve your desired results no matter what platform you want to load onto your device:
- The first step is to download the messaging app you want on your iOS device. All compatible apps will be available in the Apple Store.
- Next, open the Settings app on your iOS device and tap “Notifications.”
- Here you can select which messaging apps you want to receive notifications from. Choose the ones that you would like to sync with iOS.
- Tap the switch next to each messaging service to turn on notifications if they are not already active.
- Now go back to the main Settings page and head over to the “Accounts & Passwords” section.
- Here, tap “Add Account” and then choose the type of account you’d like to set up (i.e., Gmail, Yahoo Mail, etc.). Once chosen, input your login credentials for that particular account and tap “Sign In.”
- You will now be asked to allow or deny access for certain permissions. Make sure all of them are enabled unless there is something specific that you don’t want to grant access to at this time (such as location data).
- You will then be prompted whether you want this account synced with your phone’s Contacts list or Calendar Apps. Make sure everything here is checked depending on what type of information you actually need from this new account setup in order for it to sync successfully with iOS messaging services.
- Once done, hit “Save” at the top right corner of your display and wait while everything is synchronized correctly with the designated accounts configured in step 5 above!
- After synchronization is complete, head back over to the Notifications settings (from step 2) where we initially started, and make sure that notifications are still fully enabled for all newly-configured accounts before exiting out of this Menu completely!
- Finally, test out these settings by sending yourself a message through one of these apps while logged in on an Android or desktop computer. If everything was successful, then messages should appear within seconds after sending them through whichever platform you’ve chosen during our setup process above!
Final Thoughts
The ability to sync iOS devices with other messaging platforms can be incredibly beneficial for users, as it gives them greater flexibility and control over their communication. Ultimately, this level of convenience makes it easier for people to stay connected regardless of the platform or device they prefer using.
I am passionate about my work. Because I love what I do, I have a steady source of motivation that drives me to do my best.
I’m not comfortable with settling, and I’m always looking for an opportunity to do better and achieve greatness. I have a keen interest in the technical field. Apart from this, I am a social media influencer.