Overclocking CPU: How to overclock CPU? Want to improve your PC’s performance? Stuck with a low performing system? Learn how to safely overclock your CPU in just 15 minutes. Know what is coreV and core ratio and how to tweak them. Squeeze all the performance out of your processor without damaging it. Did you know how to stress test your processor and achieve a stable overclocked processor? Keep in mind that unlike GPU overclocking, CPU overclocking is more sensitive. CPU needs to be handled properly or you can damage your system. If you want to take a short way then check out our video on the same.
Don’t Miss: How to check which motherboard best for any processors?
What is the CPU?
CPU stands for “Central Processing Unit” and it is responsible for all the instruction processing. It is the primary component of any computer because without it you can not do anything. You give input to your device, it sends the input to then the CPU is responsible for running the kernel. The kernel is responsible for running the operating system which is responsible for running your applications. Then your input is processed and the output is being sent to your display driver and then to your monitor. As you can see, everything is connected to the CPU and it is like the brain of your computer.
Now the CPU has different components that are all packed inside a small package. These components are:
- The CU (control unit)
- Clock
- The ALU (arithmetic logic unit)
- Registers
- Cache
- Buses
Now there are multiple processors in a single machine, nowadays there are at least 2 cores or dual-core. These processors are responsible for all the complex calculations. Now if there are 4 cores then it is “quad-core” and if 8 cores then “octa-core”. The maximum number of cores as of 2020 is 16 cores in AMD Ryzen 9 3950X. But cores do not mean high performance as Intel Core i9-10900K is more powerful and has only 10 cores.
What is overclocking CPU?
Overclocking is not as easy as it may sound and it can damage your CPU if you push too hard. We would recommend you learn about overclocking to avoid shorting the life of your CPU. We made an article for you to learn everything about What is Overclocking Overclocking for Beginners to Advance.
What to Expect From Your Overclocked Processor
Now we should set some realistic expectations from the overclocking. Now overclocking will not make your computer a lot faster or anything like that, it will push just a little more power. You will not even notice that your computer has little more power, not at least with the normal applications. Applications like chrome, explorer, coding environments, and more you will not notice any change. On the other hand processor-intensive software like games, video producing an app, graphic designing apps. You will notice a little performance boost in these applications. For example, before overclocking it is taking 20 minutes to produce a video but after overclocking its taking 15-14 minutes.
However, if you are doing this for increasing performance and FPS (Frames Per Seconds). In this case, you should not overclock the CPU but GPU, GPU is directly responsible for game performance. We have an article on how you can overclock your GPU safely. Because your PC will crash if you push your system too far, so learn how to safely overclock it.
Use of Overclocking CPU
Now there are a lot of advantages of overclocking when you know what you are doing. You will get a faster PC, if your PC is hanging badly then this can help. Nowadays overclocking is not something that only gamers or content creators do, it is pretty common practice. So you must be seeing the advantages of overclocking and what difference it can make. Keep in mind that if you overclock your expensive processor but either your RAM, hard disk if older. Then this will create the issue of “bottle-necking”, it means that your performance will still be the same and will not be increased. For such problems, you need to upgrade your hardware, like from HDD (Hard Disk Drive) to SSD (Solid State Drive). Doing so will get you better performance and will definitely cost you more than you are planning to spend.
As we already told you that if you are a gamer then you should look into GPU overclocking instead of CPU overclocking. CPU overclocking will not get you any performance boost as games are GPU dependent applications. We will be discussing more GPU overclocking and how much impact it makes.
Why should you not overclock?
Now let’s see some of the downfalls of CPU overclocking, nothing is perfect and so is the overclocking. Now you should know what you are doing or else you will lose your machine forever, or lose your processor along with the motherboard. If you want to see what happens to a processor without a cooling unit, check youtube videos. If you are thinking that this overheating problem is rare then you should know.
The problem is very common even with proper cooling, my GPU reaches 90°C or 194 F and pauses the game in the middle to cool down. If I overclock with the poor cooling system the GPU will be damaged and high temperatures will reduce the GPU life. A similar problem occurs with CPU overclocking, the system will hang and become unstable. And the processor will stop working once it reaches the critical temperature, it is generally 70°C to 100° C or 158 F to 212 F.
Now approach the overclocking slowly, do not increase the clock speed too much or your PC will crash. You need to check on each level or clock range and see on what level you get the best results and are stable. Watching out the temperature vehicle increasing the clock speed is the key to success. Try to increase the airflow or install a water cooling system. But do not attempt it on a laptop as the hardware is non upgradable and without proper airflow, you will damage your laptop permanently.
How to overclock the CPU?
Step1) Baseline performance
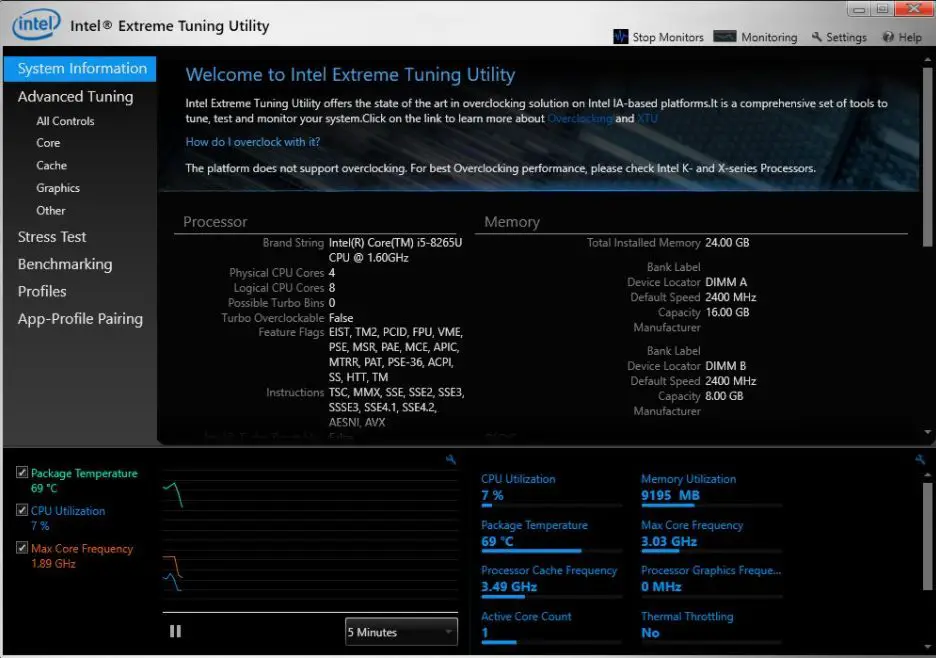
Your first should be set one baseline performance, this is the process of measuring your machine’s performance or benchmarking. This lets you understand more about your system’s current output or performance. Now after overclocking you can compare the performance boost, this will let you see if the overclocking was worth it. Keep in mind that you can only overclock your CPU from BIOS. Next to check the real-time stats and clock speed, you will be needing a utility tool and will run in your Windows. Now if you own an Intel processor then you can use “Intel Extreme Tuning Utility Software”. Click here to download the tool.
But if you happen to use an AMD processor then you will need “AMD System Monitor”, click here to download the tool.
Step2) Performance settings
- Every BIOS is different depending on the brand of the motherboard, every manufacturer develops its own BIOS. The options will be different but you will get an idea with the guide, the overclocking will mostly be the same.
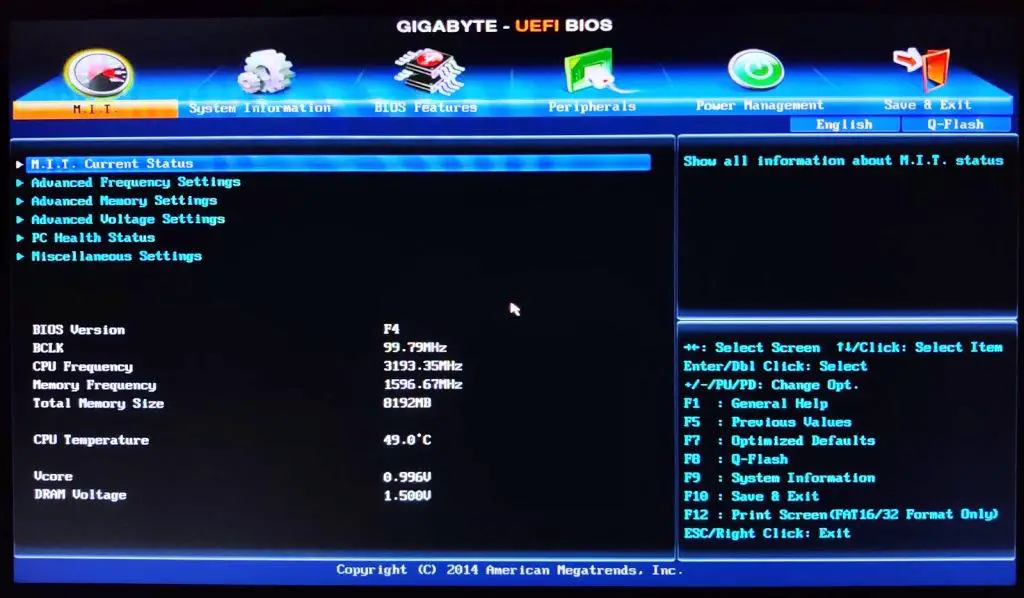
- Firstly you need to change the “CPU Core Ratio” as it determines the speed of CPU. Now you need to locate the setting which changes the “CPU Core Ratio” and don’t forget to take it slowly, it can crash your system.

- Secondly, you need to change the operational settings and we would suggest you avoid changing multiple settings at a single time. Change one setting at a time and see if the changes took place with no instability. Now in case your system crashes you will know which setting caused it, you can trace back one step and try another setting. Now just adjust the CPU Core Ratio and keep in mind to increase one value at a like 30 to 31. Make sure the system is simple and simply save all the changes. Now exit your BIOS and restart your system and check again that the system is stable.
- NOTE: Simply restart your system and run the benchmark, if you feel the system is stable. Then you can open BIOS and tweak the values again and run the benchmark to see the difference. This is tedious but it is important if you want to squeeze the most performance.
- You can make different profiles to save your settings or combination of settings. For example, one profile is for gaming and is super clocked to its limits while the other is for animation and is really stable.

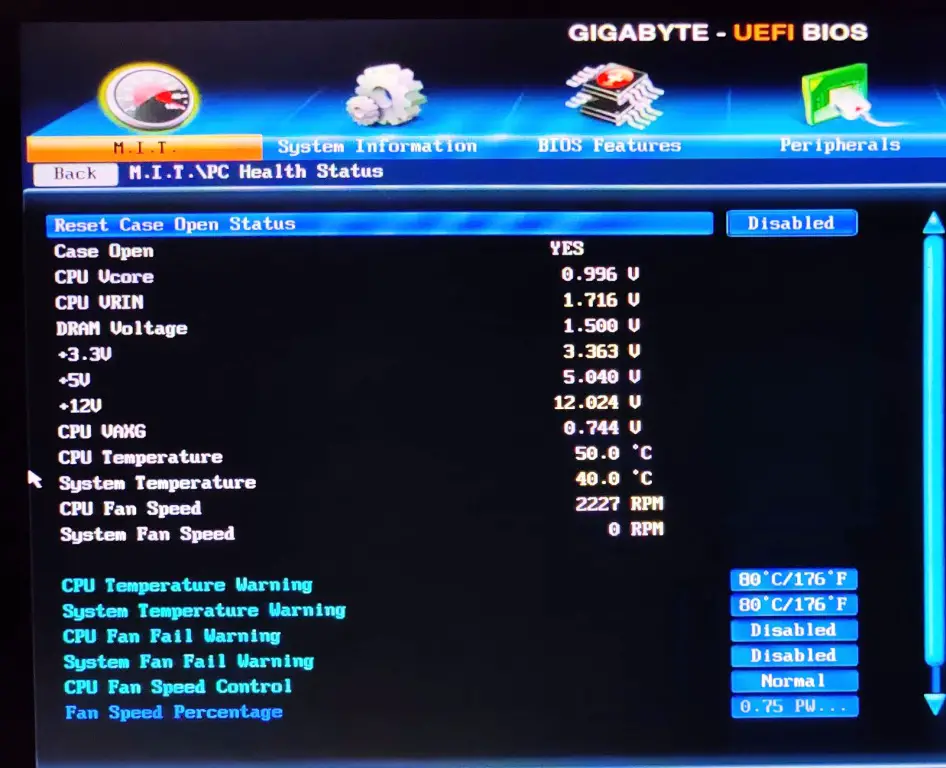
Modifying power input
Core ratio alone will not do the trick, you also need to increase the power input and this is very important. The power will directly go into the CPU and as you know more power will give you more output, increasing the voltage. Now note that your BIOS may call CPU voltage as “CPU Vcore”, but still you need to figure it out. Now, this should be your obvious option if your system is not starting, mostly the system is not getting enough power. The higher the Core Ratio speed higher should be the CPU voltage, this will mostly solve your error. Also, higher voltage is needed for a higher frequency, too much power will not damage your processor like the heating will do.
Step3) Performance gain
Now you need to make sure that you are getting gain in performance and are not wasting time. Note down the performance baseline score before you start the overclocking, see if there has been a significant difference. Now once you achieve a performance boost then you have these options.
- Make sure your system is stable once you get your desired performance boost.
- If you did not get a satisfactory or major performance boost then go back to BIOS and change the settings again. Repeat this process until you get your desired results.
Step4) Testing system out
Now it is a very important test or you can say it’s a “stress test” for your system. As your system can crash under heavy load over a long period of time, so you need to use it out. Now there are a number of stability testing utility software, you can get anyone which you like. Now run the test for what you will use for a system for, same intensity and similar duration.
Note: Keep an eye on the temperature and make sure it does not increase more than 75°C.
Now the process is completed, you can relax and enjoy your more powerful system.
How to stress test the CPU?
Once you have overclock your CPU, you now need to stress test it and check its stability. Follow the steps to check if your CPU is stable.
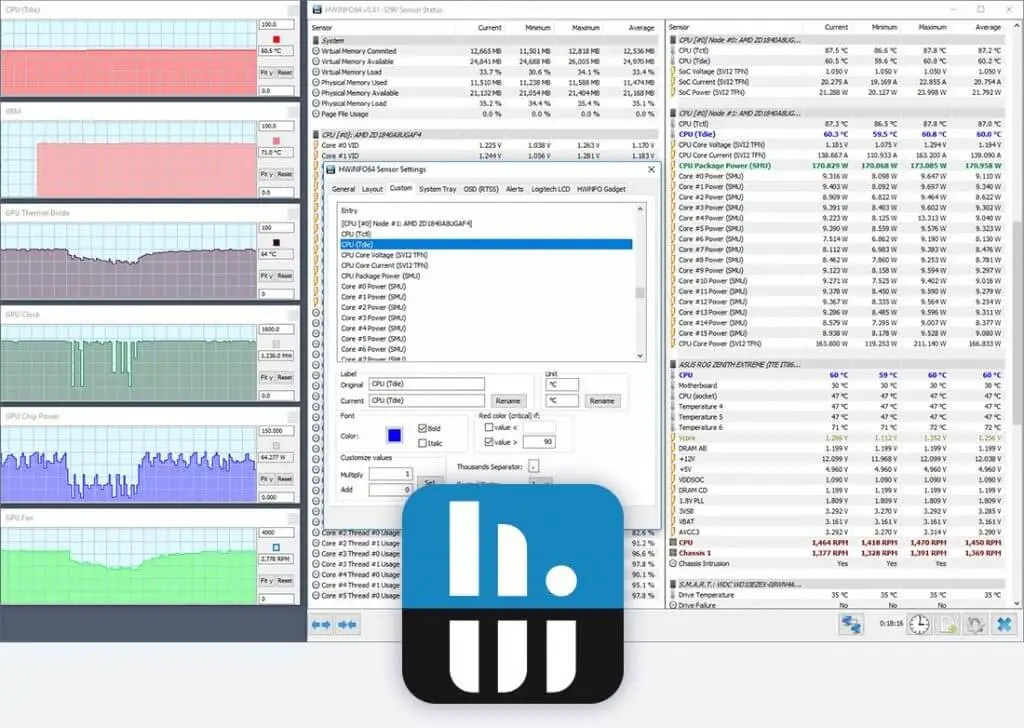
- Get a monitoring application, we will check the CPU temperature and clock speed with it. We would suggest you use “HWiNFO Monitoring Utility” as it can be used for both the Intel and AMD CPUs. Click here to download the tool for free.
- Now open a processor intensive application like Photoshop or android studio and run it for 20-30 minutes and note the temperature and core speed. If your system does not get overheated or crash then you got yourself a stable overclocked CPU.
- Now just enjoy your overclocked CPU, after the stress test you will have your stable overclock processor. But in case it crashes then open the BIOS and tweak the settings and check again if it is stable.
Summary
We saw how to overclock your CPU safely and have the best output. Note that temperature should not increase too rapidly and too much. Also, there are fail-safes like the processor will throw a blue screen of death and shut down to cool. Mostly it will stop working when the temperature reaches 70° C to 100° C. Also, the process is lengthy but it is necessary that you take it slow and don’t rush it. Increase one or two values at a time. If your system does not startup then try increasing the voltage as maybe there is not enough power. Or if your system crashes then goes back and undo your last change, this is why talking is slow is advised. If you want to overclock your system for gaming then check out our other article. GPU overclocking is what you need to do for performance to increase in-game.

I am a Computer Science Engineer, have a passion for coding, sketching, and teaching. I took part in various college technical activities and was Mr. Fresher in the 1st year along with the college’s face. Spends most of the time learning new things and coding small codes for little fun and also as academic, keeping Python 3, Android as priority language for coding.
I love writing tech tips with 100% success and enjoying this new side of life. Finding a passion for new things and letting unlock my creativity and hoping to learn new scientific stuff on the journey of life and being grateful for smaller things.


