Taking a screenshot on a Samsung device is a handy way to capture what’s on your screen, whether it’s an important message, a funny meme, or step-by-step instructions. Samsung offers several methods to take screenshots, catering to the diverse range of models and Android operating system versions. Here’s a detailed guide on how to capture your screen across different Samsung devices.

1. Using Palm Swipe Gesture
This method is convenient and intuitive, especially for newer Samsung models.
Steps to Enable:
- Go to Settings.
- Tap on Advanced features.
- Select Motions and gestures.
- Enable the Slide in Palm swipe to capture option.
How to Use:
Slide your palm over the screen from either right to left or left to right.
Note: This might require a few attempts, especially if you’re using it for the first time.
Check your device’s user manual in the “Screenshot” section to confirm if this function is supported.
Don’t miss: Can’t take screenshot due to security policy
2. Screenshot Using Buttons
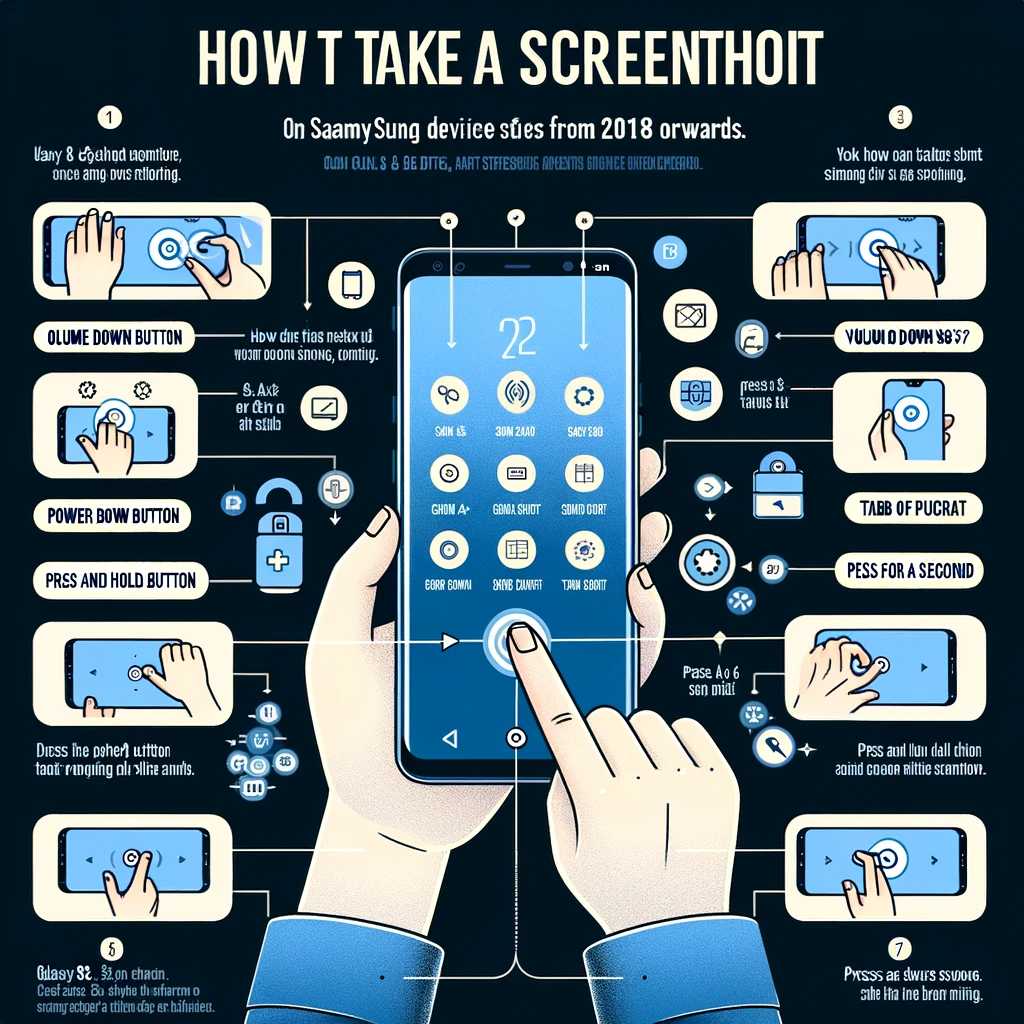
For Devices from 2018 Onwards:
- Devices: Galaxy S8, S8+, A8, Tab A6, Tab S7, etc.
- Method: Press and hold the Volume Down and Power buttons simultaneously for a second.
For Devices Prior to 2017:
- Devices: Grand Prime, Galaxy J series, Galaxy Alpha, Galaxy A series, Galaxy S series (up to S7 Edge), Galaxy Note series (up to Note 5), Tab A 10.1, Tab E.
- Method: Press and hold the Home and Power buttons simultaneously for a second.
3. Screenshot on Galaxy Tabs and Smartphones
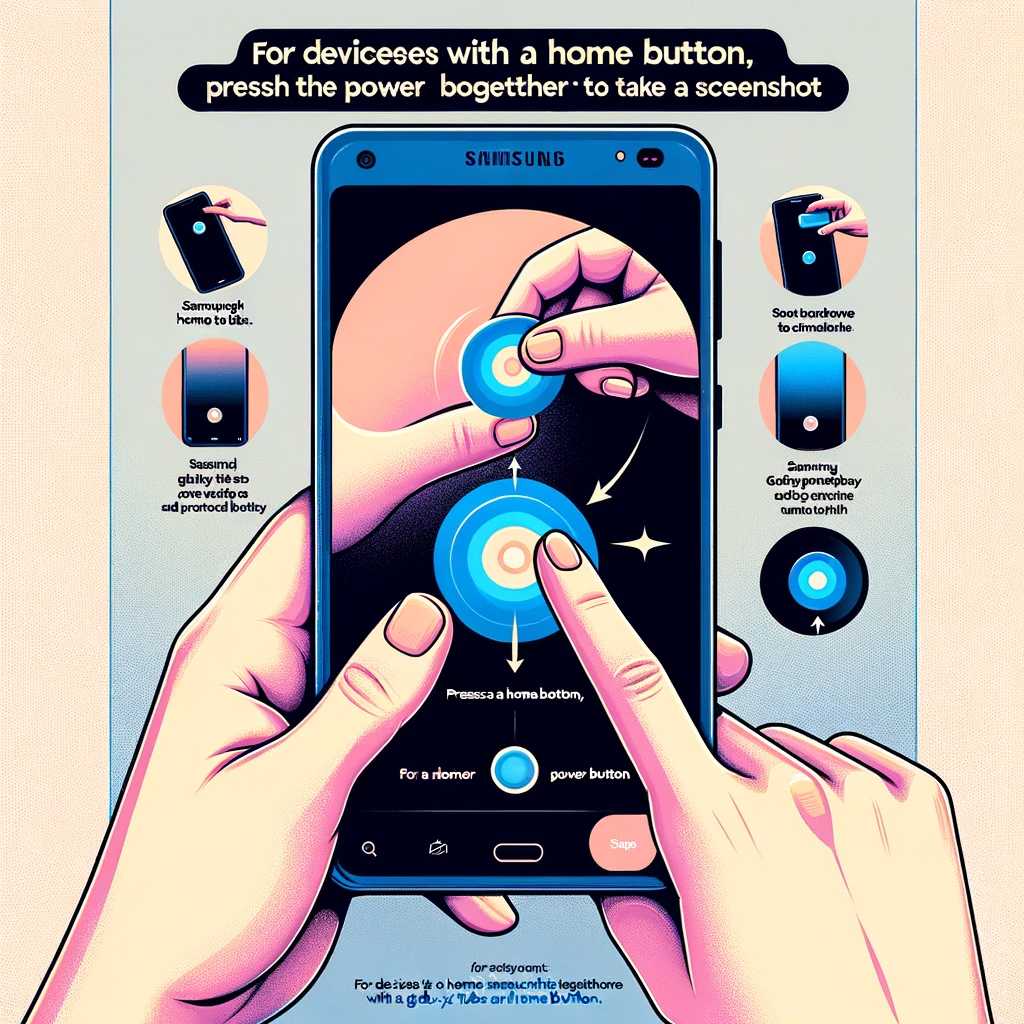
With Home Button:
For devices with a home button, use the method of pressing the Home and Power buttons together.
Without Home Button:
For newer models without a home button, press the Volume Down and Power buttons together.
4. Screenshots on Different Android OS Versions
The method of capturing a screenshot can vary based on your Android version.
Android 12, 11, 10:
- Go to Settings > More functions > Movements and gestures.
- Enable Capture the screen with the palm of the hand.
Android 9:
- Go to Settings > More functions.
- Enable Capture the screen with the palm of the hand.
Android 8, 7, 6, 5:
- Go to the menu and select Settings.
- Choose Motion, Palm control, Gesture control, or More functions (varies by model).
- Enable Capture the screen with the palm of the hand.
5. Taking Screenshots in Game Booster App
Game Booster enhances the gaming experience on Samsung devices and also offers screenshot and recording options.
Steps:
- Tap the Game Booster menu.
- Use the Screenshot or Record button to capture or record your game screen.
Note: If the recording settings aren’t available, adjust them in Settings > Advanced Features > Screenshots & Screen Recorder.
6. Recording Your Device’s Screen
Screen recording is another useful feature available on Samsung devices running One UI 2 or later.
How to Activate:
- Swipe down to access the quick panel.
- Look for and select the Record screen option.
- Choose your sound configuration.
- The recording starts after a countdown.
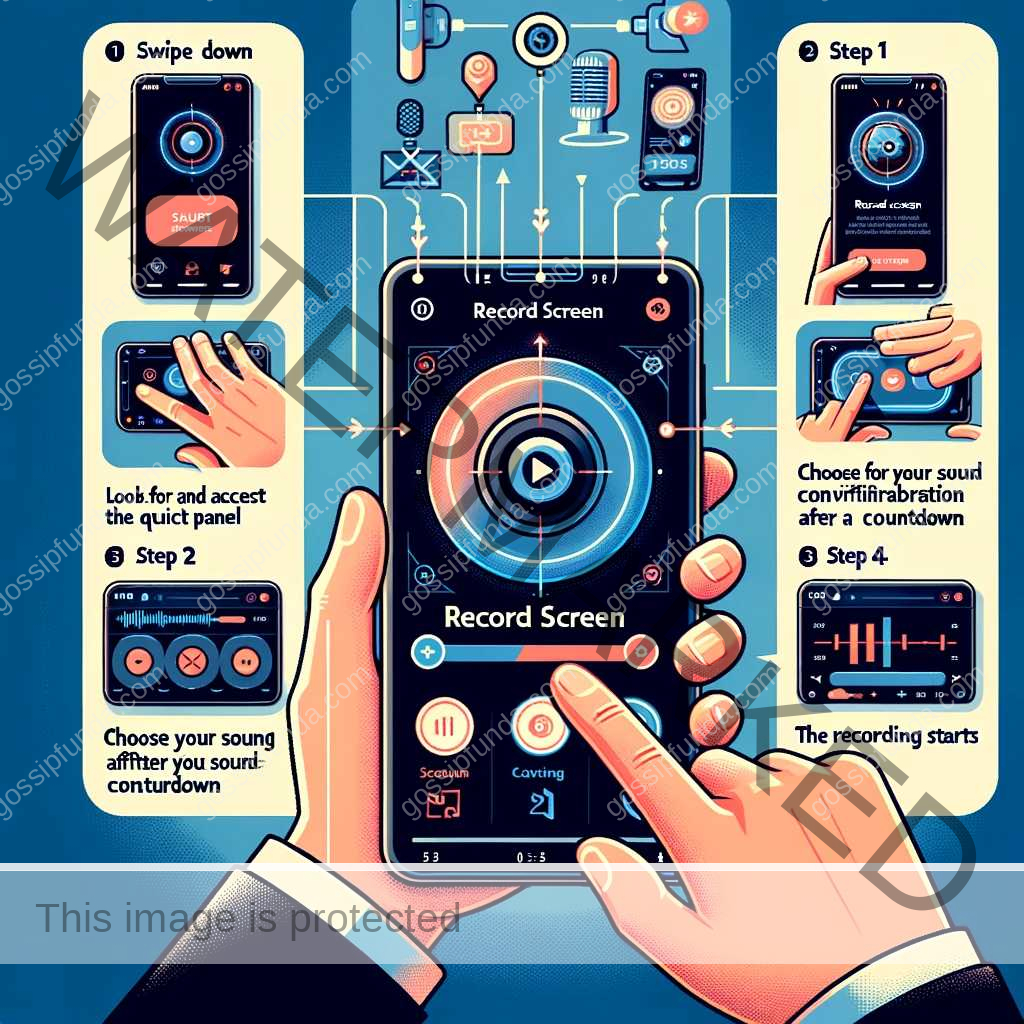
If the option is not visible, add it to the quick panel through the “+” button.
7. Adjusting Screenshots and Screen Recorder Settings
Adjusting the settings for screenshots and screen recording on Samsung devices allows for a personalized experience, ensuring you capture exactly what you need in the format you prefer. Here’s a guide on how to configure these settings:
Adjusting Screenshot Settings
- Access Settings: Go to your device’s main settings menu.
- Navigate to Advanced Features: Find and select the “Advanced Features” option.
- Screenshot Options: Here, you can adjust various settings related to screenshots. This might include:
- Screenshot toolbar: This provides quick access to tools for editing, sharing, or capturing scrolling screenshots immediately after taking a screenshot.
- Screenshot format: Choose the format for your screenshots, such as JPEG or PNG.
- Include information: Some devices allow you to include additional information like the date, time, or device information on the screenshot.
Adjusting Screen Recorder Settings
- Access Settings: Start by going into the main settings menu of your device.
- Look for Screen Recorder Settings: Navigate to “Advanced Features” and find “Screenshots & Screen Recorder” or a similar option.
- Customize Your Preferences: In this section, you can adjust various settings for screen recording, such as:
- Sound Settings: Choose whether to record media sounds, media sounds and mic, or no sound at all.
- Video Quality: Select the quality of the video recording. Higher quality will consume more storage space.
- Selfie Video Size: If your device supports this feature, you can adjust the size of the picture-in-picture window that shows the front camera feed.
- Access from Quick Panel: For ease of use, make sure the screen recorder option is available in your device’s quick panel for quick access.
- Additional Options: Some devices may offer more specific settings, like adjusting the transparency of the recording controls or setting a countdown before the recording starts.
Conclusion
Capturing screenshots on Samsung devices is a versatile and user-friendly process, designed to accommodate the wide array of models and operating system versions. Whether you prefer the simplicity of button combinations, the modernity of palm swipe gestures, or the advanced capabilities of the Game Booster app and screen recording, Samsung ensures that every user can efficiently capture, share, and save their screen content. These methods not only highlight Samsung’s commitment to technological innovation but also cater to the practical needs of users in various scenarios. By following the steps outlined in this guide, you can effortlessly harness these features to enhance your Samsung experience, making it easier than ever to preserve and share important moments, information, or achievements displayed on your screen.
I am Shweta Pandey. I was born on December 30, 1994. I am doing M-Tech from the (Computer Science and Engineering) branch in the final year. From an early age I loved (music, mathematics, art, history, etc.). I have done Bachelor (B-Tech) and Diploma with Honors in Computer Science and Engineering. My technical knowledge is very good, as long as my studies are going on I am interested in writing and additional things. So in my spare time, I dedicate myself to improve myself. Still single, I love reading, traveling and writing.

