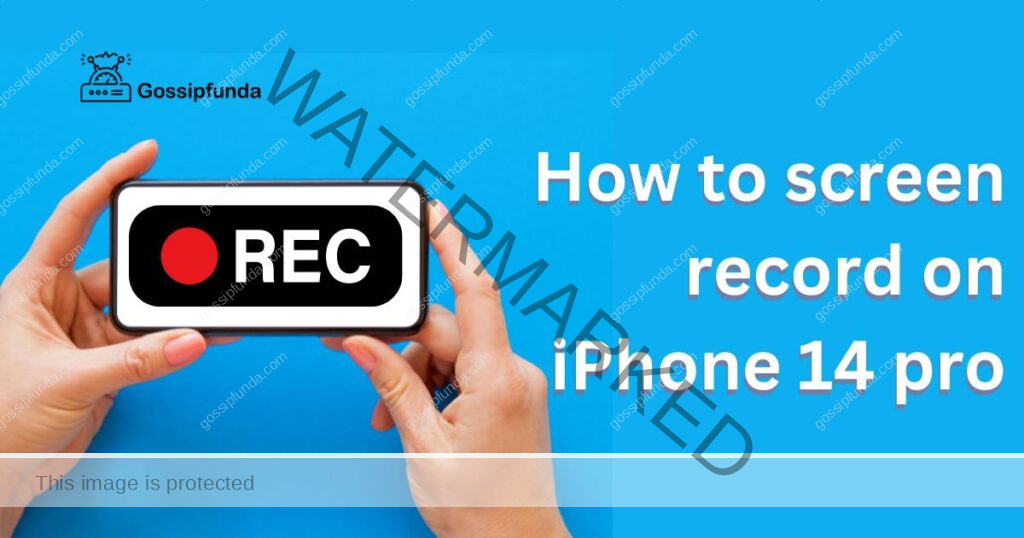
In the era of digital communication and content creation, screen recording has become an essential feature for mobile devices. Whether you want to capture a video call, save a funny moment from a game, or create engaging tutorials, being able to screen record on your iPhone 14 Pro can be incredibly useful. This powerful feature allows you to record whatever is happening on your screen, enabling you to share it with others or keep it for future reference.
If you’re new to the iPhone 14 Pro or simply unfamiliar with how to use its screen recording functionality, don’t worry! In this comprehensive guide, we will walk you through the step-by-step process of screen recording on the iPhone 14 Pro. So, let’s dive in and discover how you can make the most out of this exciting feature!
Enabling Screen Recording
To begin screen recording on your iPhone 14 Pro, you first need to enable the screen recording feature in the Control Center. Follow these simple steps to get started:
- Open the Settings app on your iPhone 14 Pro.
- Scroll down and tap Control Center.
- Tap Customize Controls.
- Locate the Screen Recording option under the More Controls section.
- Tap the green plus (+) icon next to Screen Recording to add it to the Control Center.
Accessing the Control Center
Now that you have enabled the screen recording feature in the Control Center, you can easily access it by following these steps:
- Unlock your iPhone 14 Pro and go to the Home screen.
- Swipe down from the top-right corner of the screen to open the Control Center.
- Look for the screen recording icon, which resembles a solid white circle within a larger circle.
- If the icon is not visible, you may need to swipe left or right to find it.
Read more: iPhone 14 pro: Detailed Specifications and Rumors
Initiating a Screen Recording
Once you have accessed the Control Center, initiating a screen recording is just a tap away. Here’s what you need to do:
- Locate the screen recording icon within the Control Center.
- Tap on the icon to start the screen recording.
- You may be prompted to choose whether you want to record the entire screen or a specific portion. Select your preference.
Recording and Managing Screen Recordings
During a screen recording, you will see a red bar at the top of your screen indicating that the recording is in progress. Here are some useful tips to help you make the most of your screen recording experience:
- To stop the recording, tap the red bar at the top of the screen and select “Stop” from the popup menu.
- To access and manage your recorded videos, go to the Photos app on your iPhone 14 Pro.
- Screen recordings are saved as videos, and you can view, edit, and share them just like any other video on your device.
Customizing Screen Recording Settings
The iPhone 14 Pro offers several customizable settings for screen recording. To access these settings and personalize your screen recording experience, follow these steps:
- Open the Settings app on your iPhone 14 Pro.
- Scroll down and tap Control Center.
- Tap Customize Controls.
- Locate the Screen Recording option.
- Tap the green minus (-) icon next to Screen Recording to remove it from the Control Center.
- To change the recording settings, tap on Screen Recording and adjust options such as microphone audio, show touches, and more.
Conclusion
Screen recording on the iPhone 14 Pro opens up a world of possibilities for capturing and sharing content directly from your device. Whether you’re a social media enthusiast, a content creator, or simply someone who wants to save and revisit important moments, the screen recording feature is an invaluable tool.
By following the step-by-step guide outlined in this article, you can easily enable, access, and utilize screen recording on your iPhone 14 Pro. Remember to explore the various customization options available to enhance your recording experience further. Now, go ahead and unleash your creativity with screen recording on the iPhone 14 Pro!
FAQs
Yes, the iPhone 14 Pro offers a built-in screen recording feature for capturing your screen activities.
To enable screen recording, go to Settings > Control Center > Customize Controls, and add Screen Recording.
Swipe down from the top-right corner of your iPhone 14 Pro screen to open the Control Center.
Tap on the screen recording icon in the Control Center to begin the recording process.
During the recording, tap the red bar at the top of the screen and select “Stop” from the popup menu.
All screen recordings are saved in the Photos app on your iPhone 14 Pro.
Yes, you can view, edit, and share your screen recordings just like any other video.
Prachi Mishra is a talented Digital Marketer and Technical Content Writer with a passion for creating impactful content and optimizing it for online platforms. With a strong background in marketing and a deep understanding of SEO and digital marketing strategies, Prachi has helped several businesses increase their online visibility and drive more traffic to their websites.
As a technical content writer, Prachi has extensive experience in creating engaging and informative content for a range of industries, including technology, finance, healthcare, and more. Her ability to simplify complex concepts and present them in a clear and concise manner has made her a valuable asset to her clients.
Prachi is a self-motivated and goal-oriented professional who is committed to delivering high-quality work that exceeds her clients’ expectations. She has a keen eye for detail and is always willing to go the extra mile to ensure that her work is accurate, informative, and engaging.