Updating your device software could be one of the necessary works to keep your device up to date. If you have ever tried to root your Android phone or install some zip files you might have found some issues, especially in Samsung Devices. The main problems are Signature verification failed and the Status 7 Installation Aborted. In this article, you will get a brief overview of the Status Installation Aborted and solutions to fix the Signature verification failed Android update zip. Status Installation Aborted will be shown in a specific scenario if the user has done something wrong.
But the Signature verification failed is much more common compared to other one. There are many reasons for this problem to occur, but a few reasons like corrupted files, and non-compatible versions of recovery with downloaded ZIP. After updating the file you might get this error, it is because the device starts verifying whether the update is for this device or not. If any case this update is not matched with the system it will through this error.
One may wonder what is Android Signature Verification and why it is needed while updating. So let’s begin with some theory behind it.
Android Signature Verification
In every Android device, by default Android Operating System requires all the signed orders to install it. To check the legitimacy of the application and identify the author of the application which is needed to build the trust based relationship between the apps. When we install some applications a valid signature is sent from the developers of the application, which may or may not need some private data to process the same. This signature helps to check
- APK was not tampered by anyone from the time it is being signed.
- Installed version by matching apps certificate.
This is actual work that runs behind the screen when we install something on our phone. It is a kind of security check to whether the currently downloaded application is legal or not. If the certificate matches then installation will be continued and also it retains the data. If the signature is invalid i.e. doesn’t match APK’s contents or the certificate is not matching the original application, then there is no further continuation of the installation process.
Benefits of Android Signature Verification
1. Security
It provides a security feature to your device that protects your data from the apps we install without knowing their legality. Only checking the signature, allows the installation to be complete. To a certain level, it provides basic protection to the device without any cost. As it is pre-build in the device, we don’t need to do any work for this.
2. Communication between the system and application
When we want to install some app on our device we are not going to check who is the developer, who is the distributor, or its legitimacy. But this Android Signature Verification checks it by communicating with the app by checking its signature and certificate. If it meets all the checks then it will be installed.
3. Driving license of apps
It is like the driving license of the apps. If the app or that APK has a signature or certificate then it is permitted to be installed and worked on the device. If suppose it is not matching the certificate or the signature is not valid then it will be not privileged to work with the system.
4. Encrypted signature
The signature sent by the developer will be in encrypted form which helps the content to be safe and secure while it is downloaded for installation. The encryption process has been developed to a great extent and is used everywhere.
5. Authentication
Here it works as the authentication parameter to identify and authenticate any individual or brand. If you are downloading it from the phone’s company page then it authenticates the brand and owner. If you are downloading it from Play Store or Apple Store it authenticates the APK provider.
About Status 7 Installation Aborted
It will be shown with a warning message “Status 7 Installation Aborted” when the user boots for Recovery and install a ROM. if this message pops up then the user will not be able to continue the process of installation. Some reasons and solutions are mentioned below, go through them if you are facing the above problem.
Reasons
1. Low internet speed
If the internet speed is low to install then you might get a warning message. So check your internet speed which must meet the basic requirement to download the ZIP file without any interruption. Low internet speed might be the cause of network problems, in that case, try to use Wi-Fi that is near you and stable while using.
2. Wi-Fi gets disconnected
If you are using the Wi-Fi check if got disconnected while downloading the zip file, where there is a chance that a few files got misplaced. Be sure that your Wi-Fi is sufficient and good while downloading and installing the ZIP file.
3. The file is corrupted
If you are using the browser to download the firmware then there is a high chance that the file is corrupted. So it is better to check whether it is the correct file or not before downloading and installing the ZIP file. Corrupted files may affect small instances or even damage the working of your phone.
4. Older Recovery version
The ROM you are installing might be the new version compared to your Recovery version. Since it would create some conflict which results in not installing the ROM on your device. So this could also be the reason for the installation issue.
Solutions
Method 1: Download the ROM ZIP file again.
Downloading the ZIP file again is the first solution to try out. As recommended check the file for its proper version for downloading the ROM ZIP file. Cross check the version which you are downloading with your device model. After that go to the official home page to download the ROM ZIP based on your device and download it.
Method 2: Update the Recovery version
Updating your Recovery version to the latest one helps to install the ROM without any conflict. So it is recommended to update it to the latest version of Recovery. Because recovery helps to get the content from the archives, if it is not the correct version then it can’t extract the files.
These are a few reasons and methods to solve the Status 7 Installation Aborted. But these are not all, we have picked the most common reasons for this warning and some easy methods to resolve it.
Solutions for “Signature verification failed Android update zip”
1. Get the correct recovery version
Sometimes users install the custom recovery in hurry without checking whether is it the latest version or not. It is as same as other software, it also needs to be updated frequently so that any bugs are resolved and other new features will be introduced. If you are not using the latest version, it might not support the new ZIP files to extract them. Before downloading or updating the ZIP file, first, update the recovery so that it can support new files also.
2. Check compatibility
Check the ZIP files compatible with your phone, especially on Samsung phones. Samsung releases a number of variants of the same device. Based on your model specifications you have to download the file which is for your phone model. Most of the time users download the file on a phone brand of confusion, but it should have to be done based on the phone model you have.
3. Download the ZIP file again
The ZIP files are highly prone to get corrupted. If you have downloaded the corrupted ZIP, then the Recovery cannot pull the file contents to prevent resulting damages to your phone. There is another chance the downloading process stops when your internet speed is slow. So, download the ZIP file again and try to install it with the correct recovery version to complete the process without any errors or warnings.
4. Delete OTA folder files and update
For this method, you have to follow a few different options based on your device. Firstly, you have to Delete the files from the OTA folder. Follow the below step to do so.
- Step 1: Go to File Manager on the Android device.
- Step 2: Click on the three dots in the upper right corner, then select Settings in the menu.
- Step 3: In that enable Show Hidden Files if not done already. This shows all the system files.
Note: After deleting the files disable this option.
- Step 4: Search for OTA folder, and then delete the .Ota files. At this step, you have deleted the corrupted files.
As the cleaning of files is done, now we have to clear the cache of the system update app. If you need clear steps, follow these steps correctly.
- Step 1: Open Settings App.
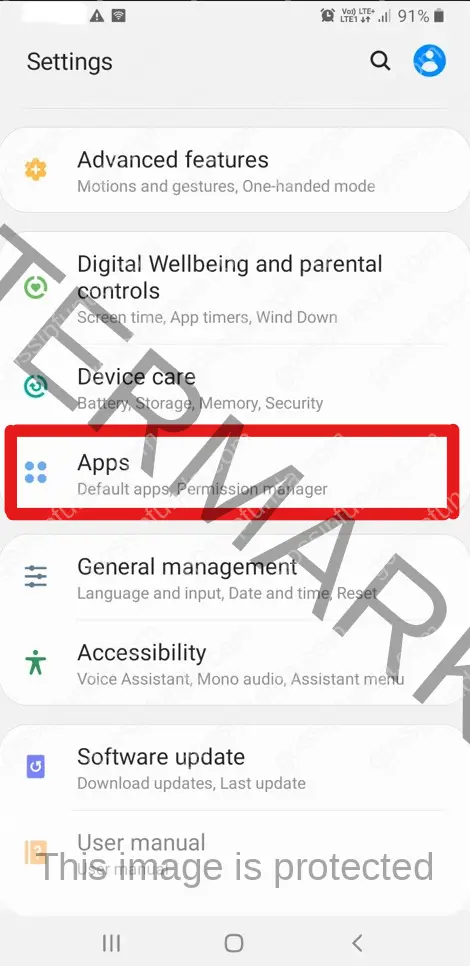
- Step 2: Select Apps.
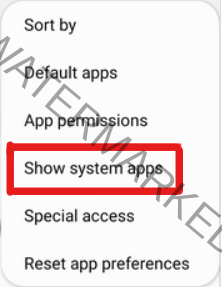
- Step 3: Click on the three dots in the upper right corner. And then select Show system apps.

- Step 4: From the list click on System Update App.
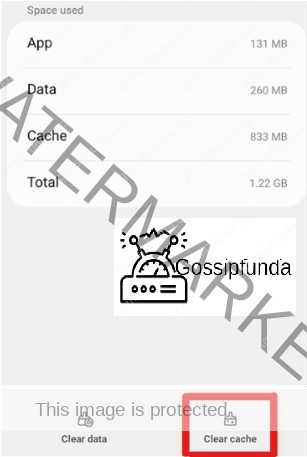
- Step 5: Tap on Storage.
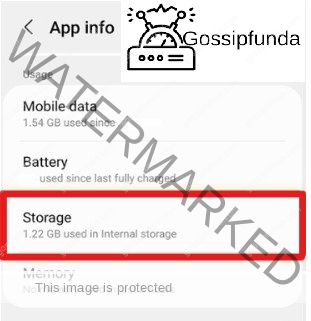
- Step 6: Tap on Clear data to remove all the data from the app.
After these two processes, you have cleared the corrupted files. If you update after this, there is a chance of the recurrence of the same error again. To fix this follow the next process i.e. Wipe the system cache and remove the ROM ZIP file.
- Step 1: Open Settings.
- Step 2: Open About phone.
- Step 3: Click on Software Information to continue.

- Step 4: Look for the Build number, and tap multiple times which enables developer options.
- Step 5: It will ask for your device password for confirmation.
- After this step, you have enabled developer options. To check go back to settings, below the About phone, now you will be able to see Developer options.
- Step 6: Now click on Developer options in Settings App and then enable Advanced Reboot.
- Step 7: Press the power button for a few seconds.
- Step 8: Tap on Reboot and then Recovery. In stock Recovery, enter your device password.
- Step 9: Choose a language. Then select Wipe data and cache.
- Step 10. At last click on Wipe Cache then Yes.
Now go back to the main menu and click on Exit, Finally, click on Reboot to Reboot. You have cleared the Wipe cache. Now time to remove the ROM ZIP file. By flashing a new ROM ZIP file this Signature Verification failed Android update zip will be resolved. To do that, go to the official ROM download page of your device like Samsung, OnePluss, VIVO, etc. Download the latest ROM zip file for your mobile model. After downloading, to update this it must be placed in the root directory. This is the lengthiest method but it is effective.
Conclusion
This article provides a basic understanding of why Android Signature Verification is needed, its benefits, and also reasons and solutions for “Signature verification failed Android update zip”. First, try out the first three solutions, if it won’t work then go for the last one which has detailed steps to solve the issue. If you think anything is missed or have any comments feel free to comment on them.
FAQs
Yes, you can disable Android Signature Verification but it is not recommended. If it has to be removed for some important reasons like you have installed some modified version of the system app, or missed some file while downloading it from the browser. Android Signature Verification can be an overhead process when you are modifying the existing system application. You can temporarily disable Signature Verification on Android.
The Recovery is like some other software we have on our devices, if you are using the older version of the recovery then it is not compatible to pull the content from the archive. Which prevents damage that may occur to the device. So updating the recovery is important which will get fixes for bugs and also have some new features.
Firstly you have to download some platform tools and folders on a computer. Open the command window and write the command: adb sideload . But don’t try this if you don’t have any idea regarding flashing any ROM. Get some assistance from an experienced person while working on this method.
Ragini P. Anvekar is a distinguished professional with a Bachelor’s degree in Computer Science Engineering. With a profound expertise in her field, Ragini has made significant strides in the tech industry. Her passion for technology and its applications is evident in her technical writing. Through her articles, she simplifies complex technical concepts, making them accessible to a broader audience. Her work reflects a deep understanding of current trends and technologies in computer science. Ragini is recognized for her ability to convey intricate details with clarity and precision, making her a valuable asset in the tech community. Her contributions extend beyond writing, as she actively participates in various tech forums, sharing her knowledge and insights.