Those who love their tech never get settled for what they got. It is always a fact when it comes to gadget loves. Personalizing our devices through customization properties is a magical process to get the most out of them. Samsung devices have their special beauty and advantages when we customize them accordingly. There is a simple solution that might help you in every case of Samsung software modifications. I am not kidding. That solution is a firmware flashing software Odin developed and used internally by Samsung. Here we can see every detail about this software and how to use it effectively.
What is Odin (firmware flashing software)?
Odin is a firmware flashing software. Odin software is based on Windows and it is a tool developed by the internal team of Samsung. Its major use is to customize Samsung Android devices by flashing Stock ROM or Custom recovery image in your device. Odin is compatible with any Samsung device. Its latest updated version is Odin v3.14.4.
Why should we use Odin?
Odin is the most trusted rooting tool of Samsung. Its many advantages include free and easy usability. Also, it has a high success ratio. You can use this tool to install Samsung Stock or Custom Firmware, root packages, install Custom Recovery, and many more.
Download Odin software
To download the Odin software, you can go to the official site and choose the version that is supported by your Samsung device. If possible, download the latest version as it is compatible with most Android devices.
The system requirements for downloading the latest Odin version are:
- Computer with Windows Operating System
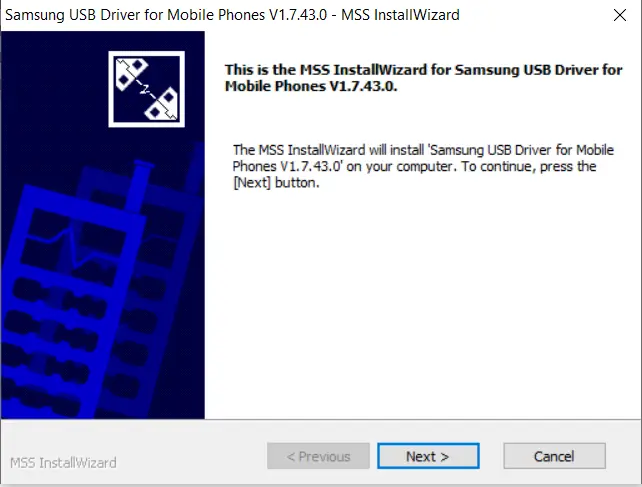
- Latest Samsung USB drivers
- ADB & Fastboot tools for the device
- Android USB cable for connecting the android phone to the computer
Note: If Odin is not shown on your device, then you can open Odin as Run as Administrator.
Odin (firmware flashing software): Primary Analysis
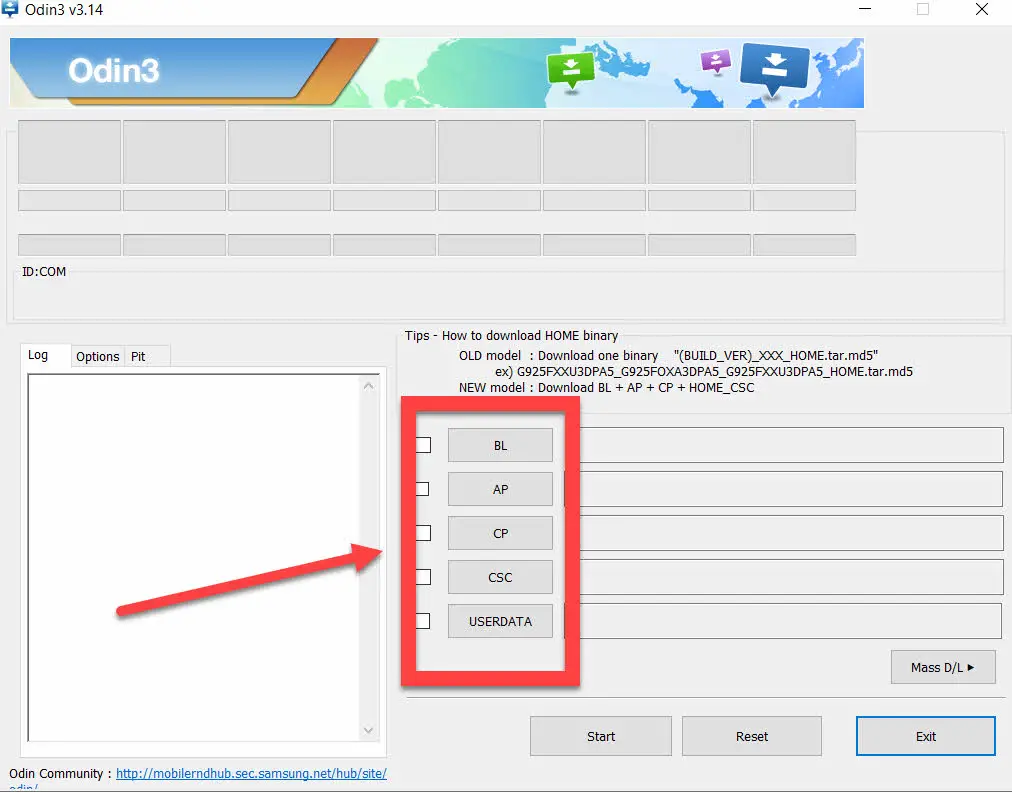
You can see many options and settings while opening the Odin tool for the first time. After connecting your Android device with your computer, an ID will be assigned to it by the Odin tool and you can find it in the Odin tool top right corner. In the log, it will show all the activities that happened while installing ROM or any other work. If you connect the Android phone to the device, the log will show ‘Added’.
You can find four buttons on the right side. Each one has its function.
BL: It stands for Bootloader. It can be used when you have to install Bootloader on your Android device.
AP: AP is Application Processor or PDA. It refers to the Operating System of your phone. This can be used to install the Samsung official firmware. It was named PDA in the older versions of Odin.
CP: It is Core Processor. It can be used to flash specific sections of device hardware.
CSC: Stands for Consumer Software Customization. It is country-specific and has all the software packages associated with a country or region.
How to use the Odin (firmware flashing software)?
Odin has multiple purposes and each purpose has different steps to follow. First, let us look at the initial common steps.
- Step1: Open and run the Odin tool (Normally or as Run as Administrator).
- Step2: Turn on your device’s USB debugging.
- Step3: Put your Samsung device in downloading mode. Follow the given procedures to do so:
- Switch off your device.
- Press the Power key, Home key, and Volume down key together. A warning screen will appear thereafter.
- Press volume up key. This will boot the device into downloading mode.
These are the initial steps and from now on, we have to work according to what task is to be accomplished. Let us see how various tasks can be accomplished using Odin.
How to flash Samsung Stock ROM
Samsung Stock ROM has many advantages and installing it can benefit your device in various ways. For instance, they are much more stable than Custom ROMs. If your phone is running on Stock ROM, it will still be in warranty. In addition to that, you will get all the latest updates and many preinstalled applications.
Also, you might need to install the Stock ROM if your device is boot looping or bricked.
You should follow the given initial steps before trying to install Samsung Stock ROM on your device.
- Take the complete backup of your device.
- Make sure that you have at least a 60% charge on your device.
- Install the necessary USB drives and software.
Use the above-mentioned steps to download and open Odin software and turn up your device in downloading mode. Download the Samsung Stock ROM specific to your device model and region or country. Navigate to the Samsung stock ROM package you have already downloaded and unzip the package. To select the correct files from the drop-down menu, follow the given steps:
- Click on the AP/PDA button. Then select the tar.md file.
- Click on the CP button and choose the file with the MODEM name.
- Select the CSC button and click on the suitable file with the CSC file name.
- Click on the PIT button to choose .pit file.
Note: Leave all the other steps if the package contains only one tar.md file.
- To start the installation process, click Start and wait for completion.
- Remove your USB when the success message pops up.
How to install TWRP recovery
TeamWin Recovery Project(TWRP) is a custom recuperation picture for Android gadgets. It is publicly released and gives a touchscreen-empowered interface to allow clients to introduce external firmware and back up the current framework which is works regularly unsupported by stock recovery images.
With TWRP custom recovery, you can install custom ROMs, install root or unroot your phone, complete backup of any Android device, delete stem app or user data, terminal access, and ADB root shell.
Prerequisites:
- Your Android device battery must be at least 40%.
- Samsung USB drivers and Odin flash tool must be installed.
- Download the TWRP recovery image as per your Samsung device.
Installation
Follow the above-mentioned steps to run the Odin (firmware flashing software), turn on your device into downloading mode, and connect with USB code. The unique steps for this installation are given below:
- Step1: Click on the AP button and select the TWRP recovery image that you downloaded.
- Step2: Click on the Start button to start the installation process.
- Step3: A success message will pop up on your screen after completion.
Booting device into TRWP recovery
To check whether TRWP recovery has been successfully installed in your device or not, use the following steps:
- Switch off your Samsung device.
- Turn on your device by pressing the Power key, Home key, and Volume up key together.
- A Samsung logo will appear on your screen and the device is successfully boot to TRWP recovery.
Rooting your Samsung Device
The process of rooting removes all the barriers in your device and gives you complete control. Sometimes you have to root the device to remove bloatware or to fix the software issues. You can use the Odin tool to root your Samsung device.
Follow the initial steps to run the Odin tool, turn on the device to downloading mode, and connect the USB code. For booting, we need to install some additional software.
- Download the CF Auto Root file (root.tar) on your PC.
- Also, download the SuperSu zip file (latest version).
- Click on AP and open the tar file you downloaded.
- Now ensure that there is a tick mark on Auto Reboot and F Reset Time options.
- Press the start button.
- A success message will pop up after successful completion.
- After the phone is switched on, you can see that SuperSu has been installed in it. Thus, the device has been rooted.
How to fix firmware flashing software errors?
Sometimes, some error messages may pop up while you are trying to flash. You must know what to do then by a few steps of troubleshooting methods.
Your Samsung Device is not detected by Odin
It may be a problem with the installation of your USB drivers. Check that the drivers are correctly installed. If the problem is still not rectified, then try changing the data cables.
Fail message on the Odin tool
If the Stock ROM you downloaded is not according to your region or country, this can occur. Downloading the right Stock ROM might fix this issue. If not, then it can be a problem with the Odin version as it may not be compatible with your Samsung device. Remove the battery from your device and restart it and along with installing another version of Odin. Repeat the entire process again.
Boot loop or bricked phone
A boot loop occurs when your device unexpectedly restarts while having a normal starting process. It can be caused by corrupt files, faulty installs, viruses, malware, etc… Also, when you flash your device in the wrong way and your device tries to boot for hours, it can cause a bricked situation to your phone. Here you can install the Samsung Stock ROM by the steps mentioned above.
Do not miss related article:
Conclusion
There are so many instances where flashing software will come to aid. It is really important to understand the right software for particular situations. Using the wrong software at the wrong place may result in serious repercussions and may lead to permanent damage to your device.
Using the Odin (firmware flashing software) can be tricky and confusing. If not done right, you might end up with a bricked phone and all your data will be lost even if the phone is rectified. So, make sure to find the right tutorial before attempting to use the tool. Follow all the steps correctly to get positive results.

I am an Electronics and Communication engineering student from Kerala with a passion for tech writing. I enjoy challenging assignments that require my knowledge and skills. My technical skills include languages Python, C, C++, Arduino. Also, I have experience in Flutter development.