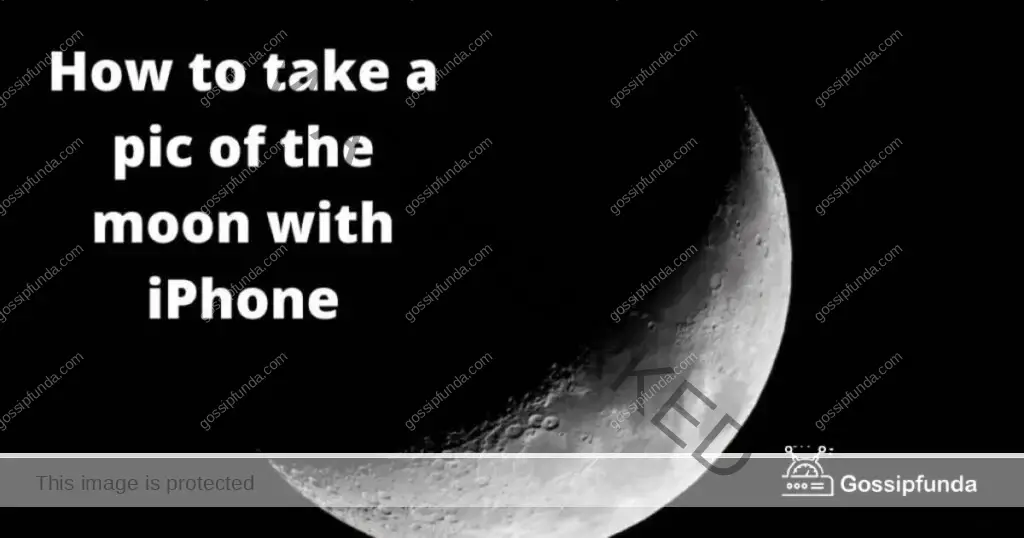
iPhone is an Apple mobile phone. It is a touchscreen mobile phone with a cellular radio. It has a multitouch screen and a camera with a backside-illuminated sensor. Now the actual question is. How to take a pic of the moon with iPhone? Take a photo of the moon with iPhone without a telescope and share it with friends. Want to take a picture of the moon? Every iPhone has a built-in “moon mode” and you can use it to take a picture of the moon.
It is used by millions of people worldwide. iPhone is a mobile phone, developed by Apple Inc. It runs on the iOS operating system and is designed for use with iOS software applications. I remember it like it was yesterday. The first time I took a picture of the moon with my iPhone, I was blown away. It was such a simple device, but it changed everything. This article will teach you how to take pictures of the moon. Let’s take a look into the features of the iPhone to take an absolutely beautiful pic of the moon.
That one time I tried to take a picture of the moon with my iPhone
I was so excited to try and take a picture of the moon with my iPhone the other day. I was sad when I realized that I didn’t have a camera to take a picture of the moon with. But I did have my iPhone. I tried taking a picture of the moon with my iPhone for about a minute before I realized that it wasn’t going to work. And I should have known that it wasn’t going to work from the start because iPhones don’t take pictures of the moon. I set my iPhone up in the window and snapped a picture of the moon.
There are a lot of things you should never view in the sky with your naked eye. But what if you tried to take a picture of it with your iPhone? You’d be surprised at how well the iPhone can capture the moon. You can capture the moon with your iPhone if you know how to do it right. It’s really easy to do, too. All you need is a tripod, a selfie stick, the moon, and your iPhone. Just set a timer on your iPhone to take a picture of the moon every 15 minutes. After an hour, it will be dark enough to take a pretty cool picture.
Tips for taking a picture of the moon with your iPhone
There are a few ways to take a picture of the moon with your iPhone. You can use the timer function to take a photo of the moon at night or take a photo of the moon with the “back camera” during the day. Another way to take a picture of the moon is to use the “beauty filters” on the app. Yet another way to take a picture of the moon is to use the “live view” function. It is easy to take a picture of the moon with your iPhone. One of the most beautiful sights you can see with your eyes is the full moon. If you want to take a picture of the moon with your iPhone, follow these tips.
Clear tips for a stunning moon photo
- Find the moon. The easiest way to do this is by using any website. You can also use your phone’s camera to find the moon in the sky. Hold up your phone and look for bright objects that aren’t moving the moon is one of them!
- Get closer. If you’re using a telescope, you can get close to the moon. See if your telescope has an adjustable arm so you can adjust it. According to the distance between yourself and the moon (you’ll need to check with your manufacturer).
- Face toward the moon and take a time-lapse picture of its phases over a few minutes or hours (you’ll need at least 2 minutes). This will make it look like a full lunar cycle has occurred in one shot. Instead of being spread out over several photos like they would be if you took each photo individually or all at once with just 10 seconds between each photo).
Finally got the perfect picture of the moon!
There are a few ways to take a picture of the moon with your iPhone. You might be able to see it or it might not be visible, but that doesn’t mean that you can’t take a picture of it. If you have a DSLR camera, then you’re in luck. Just point the camera at the moon and use the timer. If you have an iPhone, then you’ll need to use the timer and then adjust the exposure settings to get the perfect picture. The last option is to use the moon filter. This will make the moon seem similar to a golden orb and will make it easier to take a picture of.
The moon is a beautiful celestial body that can be captured and seen from Earth. It is often used as a symbol of hope, peace, and change. To get the perfect picture of the moon, you will need to follow these few steps. It is often overlooked or taken for granted by many. You can take your picture of the moon and share it with friends and family. It is easy to take a picture of the moon with a smartphone. Just use your iPhone and explore the following apps. Some of the apps that can be used to take a picture of the moon include:
Apps that will help you achieve this goal
If you want to take a picture of the moon, you can do it with your iPhone. Here are some of the apps that will help you achieve this goal:
- Camera+: This app allows you to take pictures of anything in your viewfinder, as well as adjust exposure and white balance. You can also add filters, such as black and white or sepia toning. There is also an option to record videos using this app.
- Manual Camera: This app allows you to change exposure settings, and focus points and take photos with your phone’s camera. You can also use this app to create time-lapse videos using your phone’s camera lens.
- Photo Lab: This app allows you to edit photos taken with your phone’s camera before sharing them online or saving them on your device’s storage space. You can also add text over the top of the photo so that it pops out from the background more clearly.
The best time to take a moon pic
The best time to take a moon picture is during a full moon when the moon is close to the horizon. This is because the light from the moon will have a long time to reach the camera. At certain times of the year, the moon can be difficult to see. This is because the moon is low in the sky and the light from the moon does not reach the camera. The best time for a moon picture depends on where you live. If you live in a city with a lot of light pollution, the night sky will be less spectacular than if you lived in a rural area. However, the best time to take a moon picture will vary depending on what time of year it is.
How to make your moon pic look extra cool
When moon pics are taken, they usually end up looking like a blurry mess. There are a few tricks that you can use to make your moon pic look cool, and one of them is to make the background of your photo black. It’s easy to take a screenshot of the moon with your smartphone and have a neat moon pic to share with friends or on Instagram. You just need to make sure that you are using the HDR mode on your iPhone to make the moon look extra cool. It’s the most beautiful time of the month when the moon shines bright. If you’re looking to capture that light Here are some tips and tricks shown to make your moon pics look extra cool. We know that you’re gonna have the best moon pics ever.
So here are some tips and tricks to make your pics look extra cool:
- Focus on the moon. It’s all about the moon, baby. And if you’re using a telephoto lens, make sure you keep the focus on the moon and not on any of your subjects. You don’t want to accidentally blur out your friends or family members.
- Use a long exposure time. The longer you let your shutter stay open, the more chance there is for stars and other objects in space to appear in your photo! If you don’t have a tripod handy, try holding something steady, like a rock or a piece of wood, while taking the picture—this will help keep things steady as well as give it more depth and realism!
- Keep an eye out for interesting shapes and patterns while looking through your lens—these will make great additions to photos once they’re processed!
How to take a pic of the moon with iPhone?
It’s easy to take a pic of the moon with your iPhone. For starters, you need to locate the moon. You can easily locate the moon by using the compass app. If you don’t have the compass app, you can just use the compass on the iPhone. Then, you just have to hold the camera up and point it towards the sky. You should now see the moon in the camera viewfinder. Next, you just need to tap on the moon. A little moon icon should now appear in the bottom corner of the screen. You just need to tap on the moon icon and wait for a few seconds. You should now see the moon in the camera viewfinder and a little moon icon will also be in the bottom corner of the screen.
Now, you just need to tap on the moon icon and wait for a few seconds. You should see a few seconds of the moon following your finger. The next step is to hold your finger down on the moon icon and wait for it. The iPhone moon picture is a simple way to take a picture of the moon with your iPhone. To do this, open your camera app and then open the “Video” mode. This will allow you to film the moon. To take a picture of the moon with your iPhone, you will have to wait until the moon is in the right position. It takes about 4 minutes for the moon to go through its cycle in the sky. Once the moon is in place, you can take your picture.
What settings to use for the moon pic?
As a photographer, it is important to have a way to capture the perfect moon photo. The iPhone has a couple of different settings that help you to do this in different ways. The first setting is the time setting, and the second is the exposure setting. The time setting is used to set the time of the photo and the exposure setting is used to set the brightness of the photo. The iPhone Moon Pic is easy to use. You just need to set the time, location, and shooting mode. If you are wondering what settings to use for the moon pic, the iPhone moon pic settings are shooting mode, time, and location. The best settings to use in the iPhone moon pic are shooting mode, time, and location.
You’ll need to download an app
To take a picture of the moon with your iPhone, you’ll need to download an app. The easiest way to do this is through iTunes, where you can download the Camera app for free. Once you’ve downloaded it and installed it on your phone, you’re ready to go. To start taking pictures of the moon, open up the Camera app, then tap the menu button in the top right corner of your screen (three horizontal lines) and choose “Settings.” Under “Picture,” you’ll see a list of options for adjusting how your photo looks before it’s taken. Go ahead and select “Portrait” if that’s what you want for this shot.
Next, tap “Mode” until it says “Normal,” then tap “Shoot.” This will bring up a list of preset shooting modes that are available within the Camera. Tap the one that best suits your situation (if you’re shooting a group shot at night, for example), and then tap “Save” when you’re done changing settings.
Once that’s done, all that remains is to wait for the moon to rise over whatever location or landmark catches your fancy!
The perfect moon pic
The most popular and widely used camera app in the world is Instagram. It is a social media app that allows you to upload photos, videos, and live videos. This app is available for all the 3G, 4G, and Wi-Fi networks. You can also download Instagram for your iPhone, iPad, or iPod Touch from the App Store. It has an intuitive user interface with features like filters, stickers, and captions. The top section of this app contains all your photos and videos from Instagram as well as from other social media platforms such as Facebook, Twitter, Tumblr, and Foursquare. Lucid steps to take a pic of the moon with your iPhone:
- Step 1: Open Instagram on your device
- Step 2: Tap on the Camera icon in the top right corner (if it is not visible then tap on the Profile icon)
- Step 3: Choose the Moon icon on the Camera screen and then choose a photo mode like Photo Booth or Boomerang which will allow you to record a video of your selfie shot with the help of special effects like twirling mustache etc
How to add text to your moon pic?
On the night of the full moon, you can have your iPhone make a little moon pic to give to your mom, dad, or best friend. But before you do so, you might wonder how you can add text to the picture. There are a few different ways you can do this. One way is to use a computer to change the text, and then upload the picture to your iPhone. Another way is to use an app on your iPhone. The app that we recommend for this is called “Text My Pic.” The app makes it easy to add text to your pictures.
You just need to take a photo with the app and add text with a few clicks. The iPhone moon pictures app includes a text feature, but there are some limitations. The text must be in a single text field and you can’t press enter on the keyboard to submit the text. To get around this, you can either type the text you want to be submitted on your device, or you can use a third-party app to do it for you.
You can easily add text to your iPhone moon pic. It is easy to do, and you will love the beauty of your moon pic with the text. To add a text to your moon pic, you need to first make sure you have access to the text feature. To do this, go to the options menu on your device. You should see a text option on top. Pick the text option and then, from there, the text will appear in the photo.
How to edit your moon pic?
When you take a picture of the moon with your iPhone, it is saved as a “Moon” picture. But you can edit this photo with the built-in photo editor, the app that comes with your iPhone. You can edit this picture and save it as a new photo of your own. You can also share your moon pic with your friends on Facebook, or send it to a friend via email or text.
First, take a look at the photo in which you took the picture of the moon. Make sure that it is not blurry or distorted in any way. Next, open up your photo editor on your iPhone. You can find this program by scrolling down and tapping “Photos” at the bottom of your phone’s screen. When you open up this program, tap on “Edit” at the top left corner of your screen and then tap on “Invert Colors.” This will make it so that everything appears white instead of black in your photo. Now all you have to do is tap on “Save” at the top right corner of your screen and then press “Done” when prompted.
How to save your moon pic?
A simple way to save your moon pic on your iPhone Sometimes you can’t get your iPhone camera to capture the moon, so you’ll have to use your iPhone’s gallery instead. But, if you’ve already taken a moon picture and you’re looking to save it, you can use this tutorial to save your moon pic on your iPhone. If you have taken a moon picture with your iPhone, you can save it to your camera roll and easily share it on social media.
If you’ve ever taken a picture of the moon with your iPhone, you know that it can be a challenge. The moon is too far away to see any detail—not even a silhouette! It’s like trying to take a picture of an elephant on the moon. But if you’re patient, you can get some pretty cool shots.
Conclusion
You will be glad you tried it and learned how to take a pic of the moon with your iPhone. This blog post chronicles the process of capturing a photo of the moon using the iPhone camera. The moon is a beautiful celestial body that is always present in the sky. The best way to get a photo of the moon is to take a photo of it in the sky, and it is very easy to do this with iPhone.
You can take a picture of the moon with your iPhone by following these steps: You will be glad you tried it and learned how to take a pic of the moon with your iPhone.The task of taking a moon picture with your iPhone is as easy as 1-2-3, as long as you have time to follow these steps. Hope you click the stunning picture of the moon. Happy reading cheers!!!
My self Jean Acker, an SEO specialist. MS from the reputed college MIT. I am an innovative person, as well as have a sound interface with tech. Honestly, I easily supervise my meditations as well as my experimentation with Android and iOS.